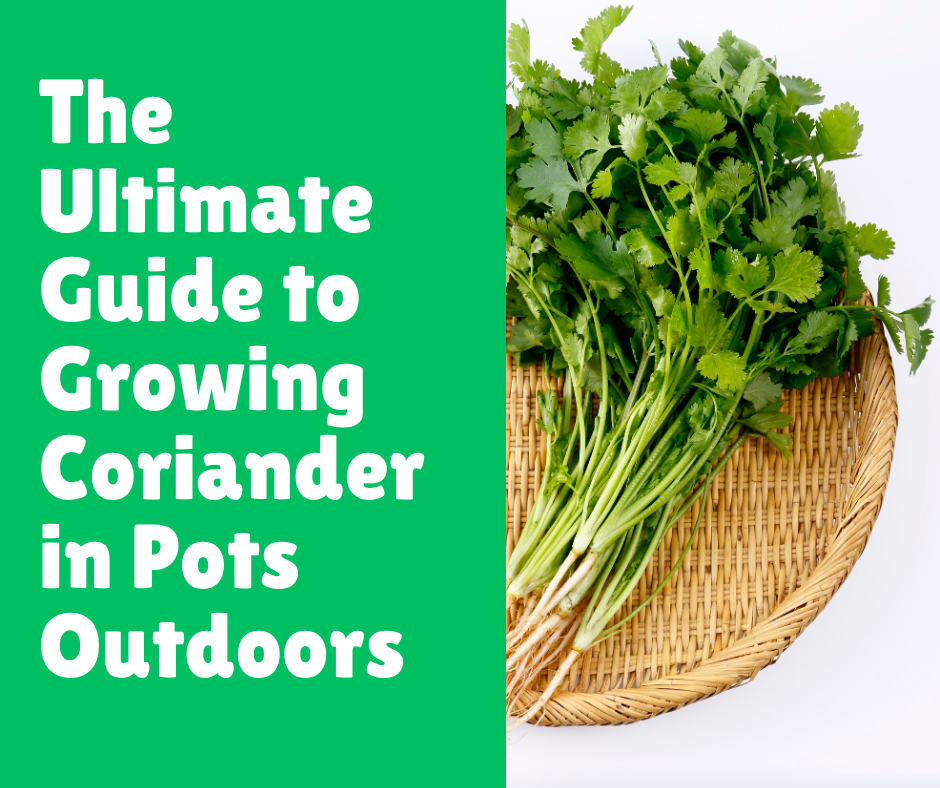
The Ultimate Guide to Growing Coriander in Pots Outdoors
Post Disclaimer
Content on this site is for educational use only and not a substitute for medical advice. Herbal remedies are based on traditional knowledge and not medical recommendations. Please consult a healthcare professional before trying any herb. We do not assume responsibility for any outcomes or adverse effects resulting from the use of information provided here.
I think we can all agree that there are two types of coriander (or cilantro, if you prefer) in this world. There’s the vibrant, fragrant, almost electric-green bunch you pick fresh from a garden, and then there’s that sad, slightly wilted plastic-bagged version from the grocery store that seems to turn into green slime the moment you look away.
For years, I was stuck with the latter, convinced that growing my own was some dark art reserved for master gardeners.
My first few attempts were, frankly, a disaster. I’d get a few hopeful sprouts, and then poofthey’d shoot up, flower, and die before I could even dream of making salsa. It was a race against the clock I always seemed to lose.
But here’s the secret I eventually learned: coriander isn’t difficult to grow. It’s just… particular. It has its quirks, its little demands, and a dramatic tendency to “bolt” (more on that later). Once you understand its personality, growing a steady supply of this amazing herb in pots right outside your door is not only possible but incredibly easy and rewarding.
Forget the sad supermarket herbs. Let’s get you set up with a coriander pot that will keep you in fresh leaves all season long. Trust me, if I can do it, you absolutely can.
Choosing the Right Pot and Soil
First things first, let’s talk about your coriander’s future home. You might think any old pot will do, but making the right choice here sets you up for success. Coriander has a secret that many new growers don’t realize: it develops a surprisingly long taproot.
Ever wonder why your coriander seems to give up so easily in those tiny supermarket herb pots? That’s often why. The taproot hits the bottom, gets stressed, and the plant’s only instinct is to reproduce as fast as possible by flowering. Game over.
The Perfect Pot
To avoid this tragedy, you need a pot with some depth.
Depth is Key: Look for a container that is at least 8-10 inches (20-25 cm) deep. This gives that taproot plenty of room to stretch its legs without getting cramped. A deeper pot is always better.
Width for a Lush Harvest: While depth is crucial, width is what gives you a nice, full-looking plant. A pot that’s around 10-12 inches (25-30 cm) wide is a great starting point. This allows you to sow enough seeds for a continuous harvest without everything being on top of each other.
Drainage, Drainage, Drainage: I cannot stress this enough. Coriander absolutely hates “wet feet.” Its roots will rot in a heartbeat if left sitting in water. Ensure your pot has plenty of drainage holes at the bottom. If you find a beautiful pot that’s perfect in every way but lacks holes, do yourself a favor and drill some. It’s a five-minute job that will save you a world of heartache.
Material Matters (Sort of): Terracotta, plastic, ceramic… what’s best?
Terracotta (Clay): These pots are porous, which means they breathe. This is great for soil aeration and helps prevent waterlogging. The downside? They dry out much faster, especially on hot, sunny days. You’ll need to be more vigilant with watering.
Plastic/Glazed Ceramic: These retain moisture for much longer. This is a huge plus if you’re a bit forgetful with the watering can. Just be extra sure they have good drainage to compensate. Personally, for a thirsty-but-hates-soggy-soil plant like coriander, I often lean towards a good quality plastic pot.
The Right Soil Mix
Now for what goes inside the pot. Bagged potting soil is not all created equal. Coriander needs a soil that is light, fluffy, and drains well, but still holds enough moisture to keep it happy. You can absolutely buy a high-quality “potting mix” and be done with it, but I find that creating my own simple blend gives the best results.
Here’s my go-to recipe for happy coriander pots:
60% High-Quality Potting Mix: This is your base. Don’t just grab the cheapest bag of “potting soil,” which can often be heavy and dense. Look for a mix that feels light and has ingredients like peat moss or coir.
20% Perlite or Coarse Sand: This is for aeration and drainage. Perlite looks like little white bits of styrofoam and is fantastic for keeping the soil from getting compacted. It ensures water can flow through freely.
20% Compost or Worm Castings: This is the good stuff—the food! Adding compost provides a slow-release source of nutrients that will feed your plants over time. It also improves soil structure.
Just mix these three components together in a bucket or wheelbarrow, and you’ve got a premium soil blend that your coriander will absolutely love. This mix provides the perfect balance of drainage, water retention, and nutrition.
Planting Coriander Seeds: A Step-by-Step Guide
This is where the magic begins! Planting the seeds is a straightforward process, but a few little tricks can make a big difference in your germination rates and the overall health of your plants.
Step 1: Prepare the Seeds (The Secret Step!)
Have you ever looked closely at a coriander seed? That little round ball isn’t actually one seed; it’s a husk containing two seeds. You can plant it as is, but if you want to speed up germination and potentially double your plants, you can gently crack the husks open.
Don’t go crazy with a hammer. Just place the seeds on a hard surface, and gently press down on them with the bottom of a jar or glass until you hear a faint crack. You’re not trying to crush them into powder, just split the husk in two.
You’ll end up with little half-moon-shaped seeds. I find this simple step can shave a few days off germination time. It’s not essential, but it’s a fun little pro-gardener hack.
Step 2: Fill Your Pot
Fill your chosen pot with your lovely soil mix, leaving about an inch (2.5 cm) of space at the top. This prevents soil from washing out everywhere when you water. Gently firm the soil down with your hands, but don’t compact it tightly. You want it to stay light and airy.
Step 3: Sowing the Seeds
This is where many people go wrong. They either plant too deep or not deep enough. Coriander seeds don’t need to be buried in the depths of the pot.
Scatter Generously: Coriander grows best when it’s somewhat crowded, as the plants help support each other. Don’t be shy! Scatter your seeds fairly generously across the entire surface of the soil.
Cover Lightly: Cover the seeds with just a fine layer of soil, about ¼ to ½ inch (about 1 cm) deep. Any deeper, and the seedlings will struggle to reach the surface. I just sprinkle a little extra potting mix over the top and gently pat it down.
Step 4: Water Gently
After sowing, you need to water the seeds in. The key here is “gently.” If you blast it with a hose, you’ll wash all your carefully placed seeds into one corner of the pot. Use a watering can with a “rose” attachment (the sprinkler head) or even a spray bottle to moisten the soil thoroughly but gently. The goal is to make the soil damp, not a swamp.
Step 5: Placement and Patience
Place your pot in a spot that gets good morning sun but is shaded from the harsh, scorching afternoon sun. We’ll dive into this more in the next section. Now, you wait. Coriander can take anywhere from 7 to 20 days to germinate, depending on the temperature and soil conditions. Keep the soil consistently moist during this time, and soon you’ll see a carpet of tiny green sprouts.
Caring for Your Coriander Plants
Your seeds have sprouted congratulations! Now the real fun begins. Keeping your coriander happy is a delicate dance of providing the right amount of sun, water, and food.
Sunlight: The Make-or-Break Factor
This is probably the most critical element in preventing your coriander from bolting. Coriander loves cool weather and hates intense heat. Too much direct, hot sun is the number one trigger for bolting, where the plant prematurely flowers and stops producing leaves.
The Ideal Spot: The perfect location for your coriander pot is somewhere it will receive about 4-5 hours of direct morning sun, followed by shade in the afternoon. An east-facing balcony or patio is often perfect.
Protect from Afternoon Heat: If you don’t have a spot with natural afternoon shade, you may need to create it. You can move the pot, or use a taller plant or a piece of shade cloth to shield it during the hottest part of the day (usually from 1 PM to 4 PM). This single act will dramatically extend your harvesting season.
Watering: The Balancing Act
Coriander likes consistently moist soil but, as we’ve established, despises being waterlogged. It’s a bit of a diva that way.
Check the Soil: Don’t just water on a schedule. The best way to know when to water is to stick your finger about an inch into the soil. If it feels dry at that depth, it’s time to water. If it still feels moist, wait another day.
Water Thoroughly: When you do water, do it deeply. Water until you see it running out of the drainage holes at the bottom. This ensures the entire root zone gets a good drink. Then, let it drain completely.
Adjust for Weather: On hot, windy days, your pot will dry out much faster, and you may need to water daily. During cooler, overcast periods, you might only need to water every few days. Pay attention to your plant and the weather.
Fertilizing: Less is More
If you used a good soil mix with compost, you’ve already given your coriander a great head start. It’s not a particularly heavy feeder. Over-fertilizing, especially with high-nitrogen fertilizers, can lead to weak, leggy growth and can even affect the flavor.
When to Feed: I usually give my coriander a little boost about 4-6 weeks after the seeds sprout.
What to Use: A balanced, liquid, all-purpose fertilizer is perfect. Look for something like a fish emulsion or a seaweed-based fertilizer. Dilute it to half the recommended strength on the package instructions. Any stronger is overkill, IMO.
How Often: One dose of half-strength fertilizer is often all it needs for its entire lifecycle. If you’re doing successive sowings in the same pot, you might want to add a little more compost to the top layer of soil before you plant the next batch.
Harvesting Coriander: When and How
This is the moment you’ve been waiting for! Harvesting coriander properly not only gives you delicious fresh herbs but also encourages the plant to become bushier and produce even more leaves.
The “Cut-and-Come-Again” Method
The best way to harvest coriander is using the “cut-and-come-again” method. This means you only take what you need and leave the rest of the plant to continue growing.
When to Start Harvesting: You can start harvesting once the plants are about 4-6 inches (10-15 cm) tall and have a good number of leafy stems.
How to Harvest:
Always harvest the outer, larger leaves first. Use a pair of sharp scissors or your fingers to snip the stems near the base of the plant.
Leave the smaller, inner leaves and the central growing point intact. This is the heart of the plant, and damaging it will stop its growth.
Never take more than one-third of the plant at any single harvesting. This ensures the plant has enough foliage left to photosynthesize and recover quickly.
By harvesting this way, you can get multiple cuttings from the same plant over several weeks.
Succession Planting for a Never-Ending Supply
Even with perfect care, a single coriander plant won’t live forever. It’s an annual with a mission to produce seeds. To ensure you have a continuous supply, the key is succession planting.
This simply means planting a new batch of seeds every 2-3 weeks. While you’re harvesting from your first pot, your second pot is just starting to sprout.
By the time the first plant starts to bolt, your next one is ready for its first harvest. Using this rotation, you can have fresh coriander from spring all the way through fall. It’s a simple strategy that makes a world of difference.
Troubleshooting Common Problems
Even the best gardeners run into issues. Here are some common problems you might face with your potted coriander and how to fix them.
“Help! My Coriander Bolted Overnight!”
This is the number one complaint. Bolting is when the plant sends up a tall flower stalk, the leaves become sparse and feathery, and the flavor changes. It’s a natural process, but one we want to delay.
Cause: The primary trigger is stress, most often from heat. Other stressors include lack of water, or the taproot being constricted.
Solution: While you can’t stop it forever, you can delay it.
Provide afternoon shade.
Keep the soil consistently moist.
Use a deep pot.
Harvest regularly.
Once it starts to bolt, the leaf flavor deteriorates. At this point, you can either let it go to flower (the flowers are edible and attract beneficial insects) or pull the plant and sow new seeds.
Pests: Unwanted Guests
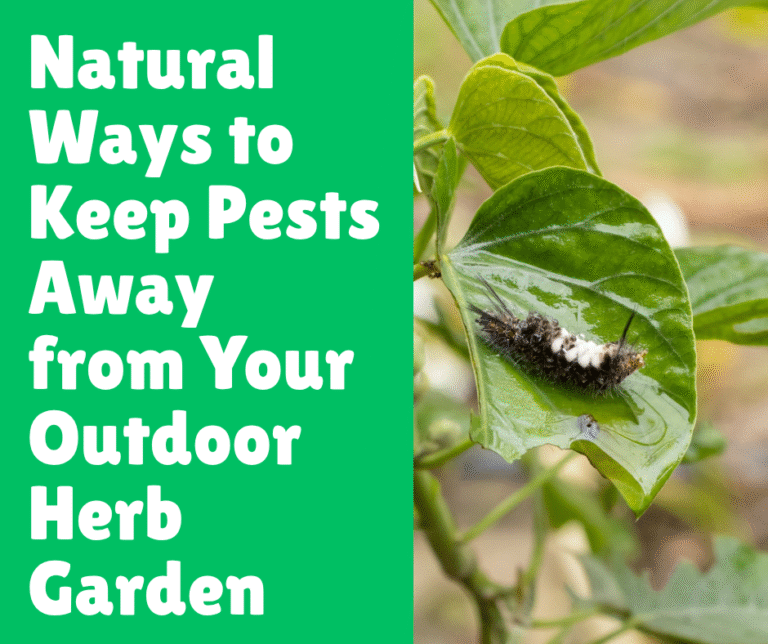
Coriander is pretty pest-resistant, but you might occasionally see aphids.
Aphids: These are tiny green, black, or gray insects that cluster on new growth.
Solution: Most of the time, you can just get rid of them with a strong jet of water from a spray bottle. If they persist, a simple insecticidal soap spray (you can buy it or make your own with a few drops of dish soap in water) will take care of them.
Yellowing Leaves
Cause: Yellowing leaves can mean a few things. If it’s the lower, older leaves, it’s often just the natural life cycle of the plant. If the newer leaves are yellow, it could be a sign of overwatering (leading to root rot) or, less commonly, a nutrient deficiency.
Solution: First, check your watering. Cut back and let the soil dry out a bit more between waterings. Ensure the pot is draining freely. If you suspect a nutrient issue and haven’t fertilized, a single dose of half-strength liquid fertilizer can help.
Common Mistakes to Avoid
We all make them! Here are a few common pitfalls I’ve fallen into myself. Avoid these, and you’ll be way ahead of the game.
Using a Pot That’s Too Small. I know it’s tempting to use that cute little pot on your windowsill, but coriander’s long taproot will quickly become unhappy. Resisting the urge and starting with a deep pot is the single best thing you can do for your plant.
Giving It Too Much Sun. Many people assume all herbs love baking in the sun all day. Coriander is the exception. It’s a cool-weather herb. Treating it like basil or rosemary by putting it in scorching all-day sun is a one-way ticket to Bolting City.
Not Harvesting Correctly (Or At All). Letting the plant grow into a giant, untamed beast before you touch it can actually signal to the plant that its job is done. Regular harvesting of the outer leaves encourages bushier growth and delays bolting. Don’t be afraid to use it!
Planting All Your Seeds at Once. It feels efficient at the moment, but you’ll end up with a massive glut of coriander all at once, followed by a long, sad period of nothing. Embrace succession planting. Sowing a small batch every few weeks is the true secret to a summer-long supply.
Conclusion
Growing your own coriander in pots is one of the most satisfying gardening projects you can undertake. There’s nothing quite like stepping outside to snip a few fresh, pungent leaves for your tacos, curries, or homemade guacamole. The difference in flavor compared to store-bought is simply night and day.
Choose a deep pot with excellent drainage.
Use a light, well-draining soil mix with some compost.
Protect your plants from the hot afternoon sun.
Keep the soil consistently moist but never soggy.
Harvest the outer leaves often using the “cut-and-come-again” method.
Practice succession planting for a continuous harvest.
Sure, coriander can be a little dramatic with its tendency to bolt, but once you understand its needs, it’s a surprisingly low-maintenance and generous plant. Don’t be intimidated by past failures. Give it another try with these tips in mind.
Now it’s your turn! Go grab a pot and some seeds and get planting. I’d love to hear about your experience. Share your coriander-growing journey, successes, or even your funny failures in the comments below!
Frequently Asked Questions (FAQs)
Can I use the coriander seeds from my spice rack to grow plants?
You can certainly try, and sometimes it works! However, seeds sold for culinary purposes are often treated with heat or irradiation to prevent sprouting and increase shelf life. For the best results, it’s always better to buy a packet of seeds specifically sold for planting from a garden center or seed company.
My coriander tastes soapy/bad. What did I do wrong?
You didn’t do anything wrong! For a certain percentage of the population, a specific genetic variation makes fresh coriander taste like soap or metal. It’s not about how it was grown; it’s just a quirk of your taste buds. If you’re one of those people, unfortunately, no amount of perfect gardening will change the flavor for you.
Why are the stems of my coriander plant getting long and thin with very few leaves?
This is known as being “leggy.” The most common cause is a lack of sufficient light. The plant is literally stretching itself out, trying to find more sun. While coriander hates intense heat, it still needs at least 4-5 hours of direct sunlight to grow strong and bushy.
What’s the difference between coriander and cilantro?
It’s just a name game! In North America, “cilantro” is typically used to refer to the fresh leaves and stems of the plant, while “coriander” refers to the dried seeds. In the UK and many other parts of the world, “coriander” is used for both the leaves and the seeds.
Can I bring my coriander pot indoors for the winter?
You can, but you’ll need to manage your expectations. Coriander needs a lot of light to thrive more than a typical sunny windowsill can provide. If you bring it indoors, you’ll almost certainly need to supplement with a grow light for 10-12 hours a day.