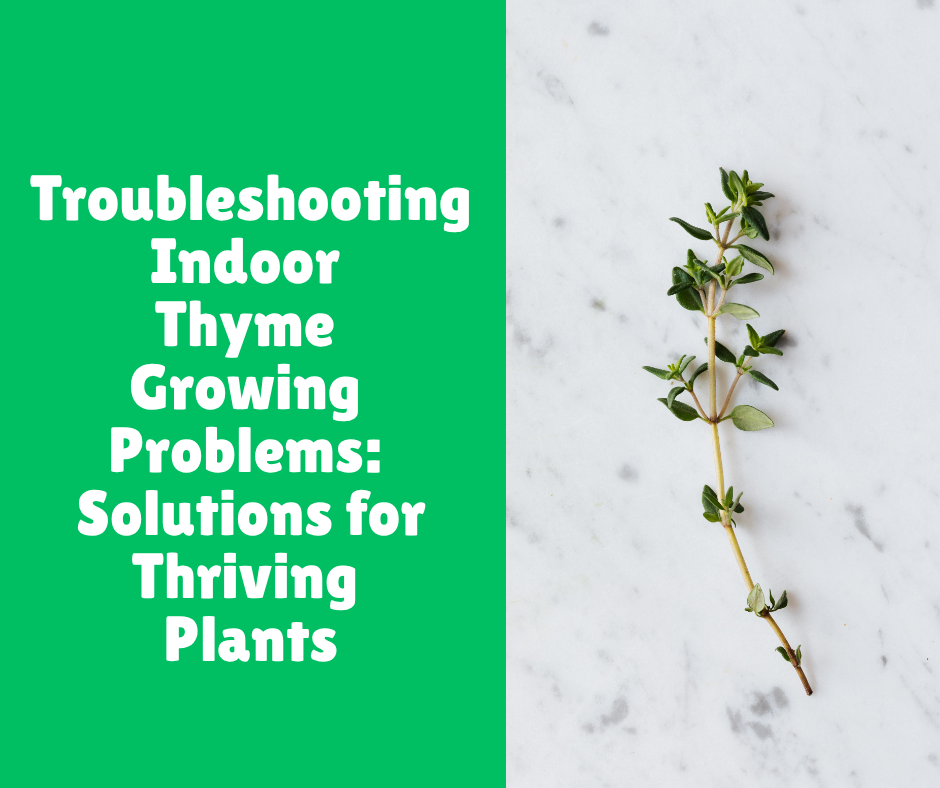
Troubleshooting Indoor Thyme Growing Problems: Solutions for Thriving Plants
Post Disclaimer
Content on this site is for educational use only and not a substitute for medical advice. Herbal remedies are based on traditional knowledge and not medical recommendations. Please consult a healthcare professional before trying any herb. We do not assume responsibility for any outcomes or adverse effects resulting from the use of information provided here.
I remember the first time I tried to grow thyme indoors. I had this romantic vision of snipping fresh, fragrant sprigs for my roast chicken, right from my sunny kitchen windowsill. It seemed so simple. Thyme is a hardy herb, right? What could possibly go wrong?
Well, let me tell you, just about everything did. My first attempt was a sad, leggy mess. The second turned into a crispy, brown twig. The third… well, the third one met a tragic end involving a mysterious yellowing and a swarm of tiny flies. It was a complete disaster.
For a while, I was convinced that growing thyme indoors was some secret society skill I just didn’t possess. I nearly gave up and resigned myself to buying those sad, plastic-packaged herbs from the grocery store. But my stubborn side won out.
I was determined to figure it out. After a lot of trial, error, and frankly, a lot of dead plants, I finally cracked the code. It turns out that while thyme is tough outdoors, it’s a bit of a diva indoors if you don’t give it exactly what it wants.
If you’re reading this, chances are you’re experiencing some of that same frustration. Maybe your thyme looks spindly, yellow, or just plain unhappy.
Don’t worry, you haven’t been cursed with a “black thumb.” You just need the right playbook. In this guide, I’m going to share everything I’ve learned the hard way so you can skip the plant graveyard phase and get right to enjoying your beautiful, thriving indoor thyme plant.
The Great Indoors: Why Thyme Struggles and How to Fix It
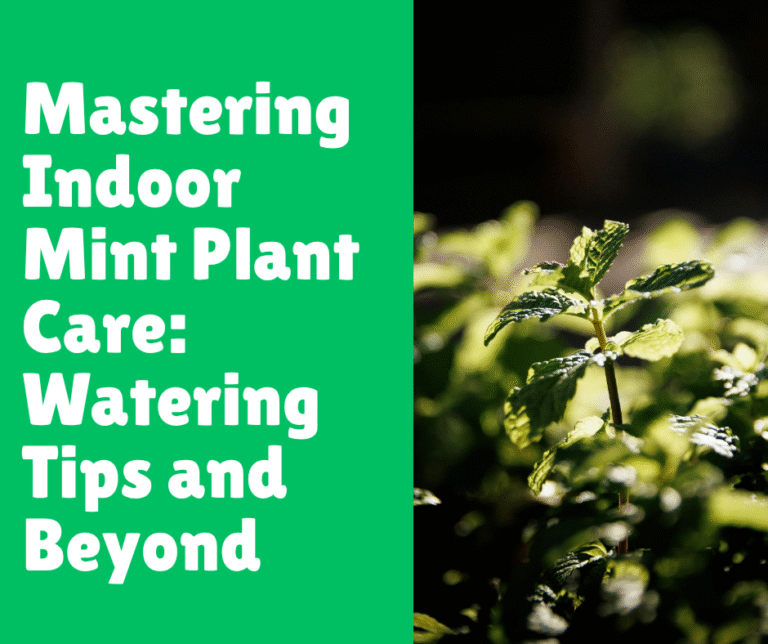
Thyme is a Mediterranean native. Picture its natural habitat: rocky, sun-drenched hillsides with dry, sandy soil and excellent air circulation. Now, picture your kitchen windowsill. See the problem?
Our indoor environments are often the complete opposite of what thyme craves. The key to success is to mimic its native conditions as closely as possible. We’re going to tackle the biggest culprits one by one.
Problem 1: Not Enough Light (The Leggy, Stretching Plant)
This is, without a doubt, the number one problem for indoor thyme. You’ll know you have a light issue if your plant looks weak and “leggy,” meaning it has long, stretched-out stems with very few leaves. It’s literally reaching for more light. A south-facing window is thyme’s best friend, but even that might not be enough, especially during the shorter days of winter.
I used to think my east-facing window was “bright enough.” My thyme vehemently disagreed. It grew tall and lanky, like a teenager going through a growth spurt, but it had no substance. The leaves were tiny, and the aroma was faint. It was a shadow of the robust herb it was meant to be.
Step-by-Step Solution: Let There Be Light!
- Assess Your Windows: First, take an honest look at your light situation. Thyme needs at least 6-8 hours of direct, bright sunlight per day. A clear, unobstructed south-facing window is ideal. West-facing windows are the next best option. East-facing windows provide gentler morning light, which is often insufficient. North-facing windows? Don’t even think about it.
- Rotate, Rotate, Rotate: Even with a good window, you need to rotate your pot. Give the pot a quarter turn every few days. This ensures all sides of the plant get equal light exposure and prevents it from leaning dramatically in one direction.
- Supplement with a Grow Light: This was the absolute game-changer for me. If you can’t provide enough natural light (and most of us can’t, especially in winter), a grow light is not optional; it’s essential. You don’t need a complicated, expensive setup. A simple full-spectrum LED bulb screwed into a desk lamp will do wonders.
- Positioning: Place the light source about 6-12 inches above the plant. Any closer and you risk scorching the leaves; any farther and it loses its effectiveness.
- Timing: Keep the grow light on for about 10-12 hours a day. I use a simple outlet timer so I can set it and forget it. This provides the consistent, powerful light that thyme craves, encouraging bushy, compact growth instead of lanky stems.
Problem 2: Overwatering (The Root of All Evil)
If insufficient light is problem #1, overwatering is a very close second. It’s the most common way we kill our houseplants with kindness. Remember thyme’s Mediterranean home? It loves dry, gritty soil. Sitting in wet, soggy soil is a death sentence that leads to root rot, a fungal disease that will destroy your plant from the roots up.
Symptoms of overwatering can be confusing because they sometimes look like underwatering. You might see yellowing leaves, wilting, or a generally droopy appearance. The key difference is the soil. If your plant looks sad and the soil is damp, you’re almost certainly overwatering.
Step-by-Step Solution: The Art of Thirsty Thyme
- Check the Soil Before Watering: This is the golden rule. Do not water on a schedule. Water only when the soil is completely dry. And I don’t mean just the top surface. Stick your finger about two inches deep into the soil. If you feel any moisture at all, do not water. Wait another day or two and check again.
- Ensure Proper Drainage: This is non-negotiable. Your pot must have drainage holes at the bottom. If you have a decorative pot without holes, use it as a cachepot. Keep your thyme in a cheap plastic nursery pot with plenty of holes, and then place that pot inside the decorative one. After watering, always dump out any excess water that collects in the saucer or cachepot. Thyme must never sit in standing water.
- Use the Right Soil Mix: Standard potting soil holds too much moisture for thyme. You need to create a fast-draining mix. My go-to recipe is simple:
- 2 parts standard potting mix
- 1 part perlite (for aeration)
- 1 part coarse sand or small gravel (for drainage)
This creates a gritty, porous medium that allows water to flow through quickly, preventing the roots from becoming waterlogged. - Water Thoroughly, But Infrequently: When you do water, do it properly. Take the pot to the sink and water it until you see water freely running out of the drainage holes. This ensures the entire root ball gets hydrated. Then, let it drain completely. Don’t water again until the soil is bone dry. This “drench and dry” method is exactly what thyme loves.
Problem 3: Pests and Diseases (The Unwanted Guests)
Even indoors, your thyme is not immune to pests. The most common invaders are spider mites and aphids. You might also encounter fungal issues like powdery mildew, especially if your plant is stressed and air circulation is poor.
I once had a terrible run-in with spider mites. I noticed fine, silky webbing on my thyme and tiny little specks moving around. They are so small you can barely see them, but they can do incredible damage, sucking the life out of the leaves and causing them to look stippled and yellow.
Step-by-Step Solution: Evicting the Invaders
- Inspect Regularly: The best defense is a good offense. Get in the habit of closely inspecting your plant every few days. Check the undersides of leaves, the stems, and the soil surface. Catching an infestation early makes it infinitely easier to treat.
- Isolate the Plant: The moment you spot pests, move the infected plant away from any other houseplants to prevent the problem from spreading. Quarantine is your friend!
- Treating Spider Mites and Aphids:
- The Blast Method: For a light infestation, sometimes a strong spray of water is enough to dislodge the pests. Take your plant to the sink and use the sprayer to blast the leaves and stems.
- Insecticidal Soap: This is my preferred treatment. It’s gentle on the plant but effective against soft-bodied insects. You can buy it premixed or make your own by adding a teaspoon of mild dish soap (like Dawn, not the antibacterial kind) to a quart of water. Spray the entire plant thoroughly, making sure to coat the undersides of the leaves. Repeat every 5-7 days until the pests are gone.
- Preventing Powdery Mildew: This fungal disease looks like a white, dusty coating on the leaves. It thrives in humid, stagnant conditions.
- Improve Air Circulation: Don’t crowd your plants. Leave enough space between them for air to move freely. You can even run a small fan in the room for a few hours a day to keep the air moving.
- Water the Soil, Not the Leaves: When you water, aim for the base of the plant. Wet foliage, especially overnight, is an open invitation for fungal diseases.
- Treat with Neem Oil: If you do get powdery mildew, a solution of neem oil, a mild soap, and water can be an effective organic fungicide. Follow the package directions for mixing.
Common Mistakes to Avoid (I’ve Made Them All)
Learning what not to do is just as important as learning what to do. Here are some of the most common pitfalls I see people fall into when trying to grow thyme indoors. Steer clear of these, and you’ll be way ahead of the game.
- Using a Pot That’s Too Big: It seems logical, right? Give the plant plenty of room to grow! But a pot that’s too large holds a massive amount of soil, which stays wet for a very long time. This is a one-way ticket to root rot. It’s better to start with a smaller pot (maybe 4-6 inches in diameter) and only pot up one size when the plant is clearly root-bound.
- Fertilizing Too Much: Thyme is not a heavy feeder. In its native habitat, it grows in poor, nutrient-sparse soil. Over-fertilizing can lead to weak, leggy growth and can even burn the roots. I fertilize my indoor thyme maybe twice a year—once in the spring and once in the summer with a heavily diluted, balanced liquid fertilizer. Less is definitely more.
- Not Pruning: This is a big one. You might be afraid to cut your precious plant, but pruning is essential for a healthy, bushy thyme. Regular trimming encourages the plant to branch out, creating a fuller shape. It also prevents the stems from becoming woody and unproductive. Don’t be shy! Snip off the top few inches of the stems regularly. Bonus: you get to use the fresh thyme in your cooking!
- Starting from Seed Indoors: While not impossible, starting thyme from seed indoors can be tricky for beginners. The seedlings are tiny and fragile, and they require very specific conditions. My advice? Buy a healthy starter plant from a nursery. It gives you a huge head start and lets you focus on keeping it alive rather than struggling with germination.
Conclusion: Your Thriving Indoor Herb Garden Awaits
Growing thyme indoors doesn’t have to be a source of frustration. It’s not about having a magical “green thumb”; it’s about understanding what this particular plant needs and making a few key adjustments to your indoor environment. Once you nail the big three—abundant light, infrequent watering with excellent drainage, and good air circulation—you’ll be amazed at how well your thyme can thrive.
I went from a serial thyme killer to someone who now has a steady supply of this amazing herb right in my kitchen. The smell of fresh thyme as I brush past the plant is one of those small joys that makes all the initial effort worthwhile. You can absolutely do this too.
Here are the key takeaways to remember:
- Light is King: Provide at least 6-8 hours of direct sun or supplement with a grow light.
- Stay Dry: Use a fast-draining soil mix, a pot with drainage holes, and only water when the soil is completely dry to the touch.
- Prune for Bushiness: Regular trimming encourages a full, healthy plant and prevents woody stems.
- Inspect Often: Keep an eye out for pests and address any issues immediately.
Now it’s your turn. Have you struggled with growing thyme indoors? What problems have you encountered? Share your stories, questions, or your own hard-won tips in the comments below. Let’s help each other grow!
Frequently Asked Questions (FAQs)
Why are the lower leaves of my thyme plant turning yellow and falling off?
This is a classic sign of overwatering. The lower leaves are usually the first to suffer when the roots are sitting in soggy soil. Immediately check your soil moisture. If it’s wet, let it dry out completely before watering again. Also, ensure your pot has excellent drainage.
My thyme plant has become very woody at the base. Can I fix it?
Thyme naturally becomes woody as it ages, especially at the base. You can’t reverse the woodiness on old stems, but you can encourage new, soft growth. Prune the plant back by about one-third, cutting just above a set of leaves.
Q: Can I grow thyme in just water?
A: No, thyme cannot be grown long-term in water. While you can successfully root cuttings in water, thyme is a terrestrial plant that requires soil to get the nutrients and support it needs. Its roots are adapted for a dry, soil-based environment and will eventually rot if kept permanently in water. Once your cuttings have developed a healthy set of roots (about an inch long), they should be planted in a gritty soil mix.
My whole thyme plant just wilted overnight, even though the soil is moist. What happened?
This sounds like a severe case of root rot. When roots are so damaged by overwatering that they can no longer absorb water, the plant wilts, ironically mimicking the look of a thirsty plant. At this stage, it can be very difficult to save.
Is it better to grow a specific variety of thyme indoors?
Yes, some varieties tend to be a bit more manageable indoors. While common/garden thyme (Thymus vulgaris) works, look for smaller, more compact varieties. Lemon thyme (Thymus citriodorus) is a fantastic choice as it’s robust and smells amazing.