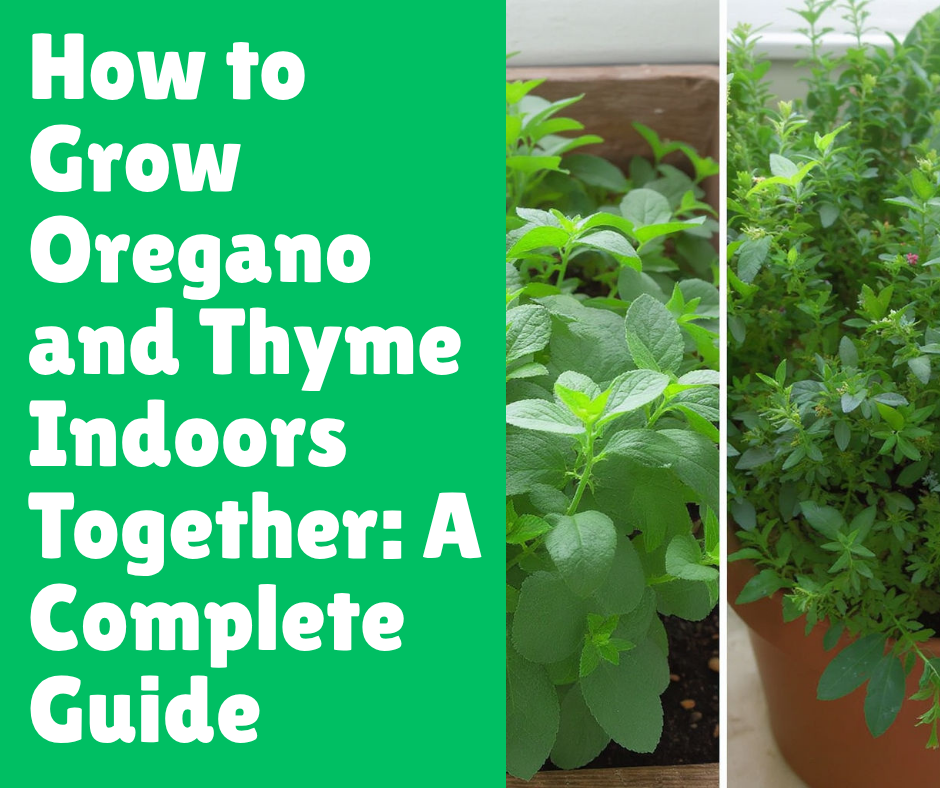
How to Grow Oregano and Thyme Indoors Together: A Complete Guide
Post Disclaimer
Content on this site is for educational use only and not a substitute for medical advice. Herbal remedies are based on traditional knowledge and not medical recommendations. Please consult a healthcare professional before trying any herb. We do not assume responsibility for any outcomes or adverse effects resulting from the use of information provided here.
There’s something uniquely satisfying about snipping fresh herbs right from your own windowsill. The aroma alone can transform your kitchen, not to mention your cooking. I used to think you needed a sprawling garden and a green thumb blessed by the gods of agriculture to grow anything useful. Turns out, that’s not quite true.
Growing hardy herbs like oregano and thyme indoors is not just possible; it’s surprisingly easy and incredibly rewarding.
These two Mediterranean powerhouses are staples in so many dishes, from Italian sauces to roasted chicken. Having them fresh and on-hand elevates your culinary game instantly. Plus, let’s be honest, it makes you feel like a pro chef, even if you’re just making pasta for the third time this week.
Forget those sad, plastic-packaged herbs from the grocery store that wilt in two days. We’re going to set you up with a constant supply of fresh flavor, right in your own home.
This guide is your roadmap to creating a thriving indoor herb garden with two of my absolute favorites. We’ll cover everything from picking the perfect pot to knowing exactly when to harvest for maximum flavor. Ready to turn your kitchen into a fragrant, green oasis? Let’s get our hands dirty.
Getting Started: Choosing Your Pots and Soil
Before you even think about seeds or plants, you need to create the perfect home for your future herb babies. Oregano and thyme aren’t particularly fussy, but getting their foundation right is the single most important step for success. Mess this up, and you’ll be wondering why your herbs look so pathetic. No pressure, right?
The Great Pot Debate: What Your Herbs Really Want
The container you choose does more than just hold dirt. It’s a crucial part of your herbs’ ecosystem, managing moisture, air, and root health.
- Drainage is Non-Negotiable: I can’t stress this enough. Oregano and thyme absolutely hate having “wet feet.” Their roots will rot faster than you can say “root rot.” Your pot must have drainage holes at the bottom. If you find a super cute decorative pot without holes, you have two options: drill some yourself (carefully!) or use it as a cachepot—a decorative outer pot that holds a plainer plastic pot with drainage inside.
- Material Matters:
- Terracotta (Clay): This is my personal favorite for Mediterranean herbs. Terracotta is porous, meaning it allows air and water to move through the sides of the pot. This helps the soil dry out more evenly, which is exactly what oregano and thyme love. The downside? You’ll have to water a bit more often.
- Glazed Ceramic or Plastic: These are great, too. They retain moisture longer than terracotta, so you won’t need to water as frequently. Just be extra vigilant about not overwatering, since the soil can’t breathe as well.
- Size It Up: Don’t start with a gigantic pot, thinking your tiny plant will “grow into it.” A pot that’s too large holds excess soil and moisture, which can lead to you guessed it root rot. A 6-8 inch diameter pot is a perfect starting point for a single oregano or thyme plant. This gives the roots enough room to establish themselves without being overwhelmed. You can always pot up to a larger container in a year or so.
The Dirt on Soil: Crafting the Perfect Mix
You can’t just scoop some soil from your backyard and call it a day. Outdoor soil is too dense, can harbor pests, and won’t drain properly in a pot. You need a specific type of mix that mimics the dry, gritty conditions of the Mediterranean.
My go-to recipe for a perfect oregano and thyme soil mix is simple. I start with a high-quality potting mix designed for containers. But I don’t stop there. Straight potting mix often holds too much water for these herbs.
To create the ideal environment, you’ll want to amend it. Here’s the formula:
- 2 parts standard potting mix
- 1 part perlite or pumice
- 1 part coarse sand (like builder’s sand, not fine play sand)
This combination creates a light, airy, and fast-draining medium. The perlite and sand create tiny air pockets, allowing roots to breathe and preventing the soil from becoming a dense, waterlogged brick. You can find all these components at any garden center. It might seem like a little extra work, but trust me, your herbs will thank you for it with vigorous, healthy growth.
Let There Be Light (and Water)
Once your herbs are potted, your next job is to provide the two things they need to photosynthesize and thrive: light and water. Getting this balance right is the difference between a lush, bushy plant and a sad, leggy one.
Chasing the Sun: Lighting Needs for Happy Herbs
Oregano and thyme are sun-worshippers. They need at least 6-8 hours of direct, bright sunlight every day to produce those flavorful essential oils we love. A south-facing window is the absolute best-case scenario. It provides strong, consistent light throughout the day.
What if you don’t have a south-facing window? Don’t despair. An east- or west-facing window can also work, though your plants might get a little “leggy,” meaning they stretch out trying to find more light. To combat this, rotate your pots every few days so all sides get some sun.
If your home is more like a cave than a sunroom (I’ve been there), a grow light is your best friend. Seriously, it’s a game-changer. You don’t need a fancy, expensive setup. A simple full-spectrum LED grow light clamped onto a shelf or desk will do wonders.
Position the light about 6-12 inches above your plants and keep it on for 12-14 hours a day. This will give them all the light energy they need to grow compact and flavorful.
The Art of Watering: Less is More
Here is the number one rule of watering oregano and thyme: When in doubt, don’t. Overwatering is the most common killer of indoor herbs. These plants are adapted to dry, rocky climates and prefer their soil to dry out completely between waterings.
So, how do you know when it’s time to water?
- The Finger Test: This is the most reliable method. Stick your finger about two inches deep into the soil. If it feels completely dry, it’s time to water. If you feel any moisture at all, wait another day or two.
- The Lift Test: Once you get a feel for it, you can simply lift the pot. A pot with dry soil will feel noticeably lighter than one with moist soil.
When you do water, do it thoroughly. Take the pot to the sink and water until you see it freely running out of the drainage holes. This ensures that the entire root ball gets hydrated. Then, and this is crucial, let it drain completely. Never, ever let your pot sit in a saucer full of water. Empty any excess water from the saucer after about 15-20 minutes.
Step-by-Step Planting Guide: From Seed to Plant
Now for the fun part! You can start your herbs from seeds or from starter plants (also called starts or seedlings) purchased from a nursery.
- Seeds: Cheaper and more rewarding, but it takes longer. You’ll need patience as you watch tiny green shoots emerge.
- Starter Plants: Much easier and gives you a head start. This is the path I recommend for beginners. You get an established plant that’s ready to start growing in its new home immediately.
Planting Your Starter Plants
Let’s assume you’ve wisely chosen to start with young plants. Here’s how to get them settled into their new pots.
- Prepare Your Pot: Fill your chosen container with your awesome, well-draining soil mix, leaving about an inch of space at the top.
- Gently Remove the Plant: Turn the nursery pot on its side and gently squeeze it to loosen the plant. Support the base of the plant with one hand and slide it out. Try not to pull it by the stem.
- Inspect and Loosen the Roots: Look at the root ball. If the roots are tightly wound in a circle (this is called being “root-bound”), gently tease them apart with your fingers. This encourages them to grow outward into the new soil instead of continuing to circle.
- Plant It: Dig a small hole in the center of your new pot, about the size of the root ball. Place the plant in the hole, ensuring the top of the root ball is level with the surrounding soil. You don’t want to bury the stem.
- Backfill and Settle: Fill in the gaps around the root ball with more soil, gently pressing it down to remove any large air pockets.
- Water It In: Give your newly potted herb a thorough watering until water drains from the bottom. This helps the soil settle around the roots. Place it in its sunny spot and let it acclimate.
Caring for Your Indoor Herbs: Pruning and Feeding
Your job isn’t done once the plants are in their pots. A little ongoing maintenance will keep your oregano and thyme productive, bushy, and delicious.
The Importance of a Good Haircut (Pruning)
Pruning is essential for indoor herbs. It might feel counterintuitive to cut your plant back, but it’s the secret to encouraging a full, bushy shape instead of a tall, spindly one. It also signals the plant to produce more leaves, which is exactly what we want!
When to Prune: Start pruning once your plant is about 6 inches tall and looks well-established.
How to Prune:
- Always use clean, sharp scissors or pruning shears.
- For both oregano and thyme, locate a stem and find a set of leaves. Cut the stem about a quarter-inch above a leaf node (the spot where leaves grow out from the stem). This is where new growth will sprout.
- Never take more than one-third of the plant at any one time. Regular, light pruning is much better than one drastic chop.
- The best part? Your pruning is your harvest! Use those fresh cuttings in your cooking. Regular harvesting is the best form of pruning.
To Feed or Not to Feed?
Oregano and thyme are not heavy feeders. In fact, too much fertilizer can actually dilute their flavor by causing rapid, weak growth. Remember, these herbs thrive on a bit of neglect.
I generally only fertilize my indoor herbs once or twice during the main growing season (spring and summer). Use a balanced, all-purpose liquid fertilizer diluted to half-strength.
Over-fertilizing is a common mistake that leads to leggy plants with less aromatic leaves. If your soil mix was good from the start, you may not need to fertilize at all in the first year.
Common Mistakes to Avoid (That I’ve Definitely Made)
We all make mistakes. Here are a few common pitfalls I’ve stumbled into so you don’t have to.
- The “Loving It to Death” Syndrome: This is all about overwatering. You see the soil looks a little dry on top, so you give it a splash of water. And another the next day. Soon, the roots are suffocating. Embrace the dry-out period. Your herbs will be much happier for it.
- Fear of Pruning: I used to be terrified to cut my plants. I thought I was hurting them! But an unpruned oregano plant will get woody and an unpruned thyme plant will get sparse. Be brave. Give them regular haircuts. It promotes the lush growth you’re looking for.
- Ignoring the Light Situation: Hoping that a north-facing window will be “good enough” is a recipe for disappointment. The plants won’t die, but they won’t thrive. They’ll be pale, stretched out, and lack flavor. Be honest about your light and invest in a grow light if needed. It’s worth it.
- Starting Too Big: Putting a tiny 3-inch starter plant into a 12-inch pot is a classic rookie move. It looks silly, and the massive amount of soil stays wet for too long, leading to root rot. Start with a pot that’s just a little bigger than the current root ball.
Conclusion: Your Fresh Herb Journey Begins
You are now officially equipped with all the knowledge you need to grow beautiful, aromatic oregano and thyme right on your windowsill.
From choosing the perfect terracotta pot and mixing that gritty, fast-draining soil to understanding their sun-bathing and watering needs, you’re ready for success. Remember to prune regularly it’s your ticket to a bushy plant and a delicious dinner.
There’s nothing quite like the pride and convenience of having fresh herbs at your fingertips. The initial setup takes a little effort, but the payoff is a continuous supply of flavor that will elevate your cooking for months or even years to come.
Now I want to hear from you! Are you going to give it a try? Have you grown herbs indoors before? Share your tips, questions, or future successes in the comments below. Happy growing!
Frequently Asked Questions (FAQs)
Can I plant oregano and thyme in the same pot?
Absolutely! Oregano and thyme are perfect companions. They have nearly identical needs for light, water, and soil type. Planting them together in a larger rectangular planter looks beautiful and is very efficient. Just make sure the pot is big enough to give both plants room to spread out a bit.
My indoor thyme is getting woody and sparse at the base. What can I do?
This is very common, especially with older thyme plants. It means the plant is putting its energy into woody stems instead of leafy growth. The best solution is aggressive pruning. In the spring, cut the plant back by about one-third, even into some of the older, woodier parts.
Why do my indoor herbs lose their flavor compared to outdoor ones?
The most common reason for this is insufficient light. The essential oils that give oregano and thyme their potent aroma and flavor are produced in response to strong sunlight. If your plants are not getting at least 6-8 hours of intense light, they will still grow but will have a much milder flavor. A grow light can be a huge help here.
How often should I repot my oregano and thyme?
Typically, you’ll only need to repot them every 1-2 years, or when you notice they have become severely root-bound (roots are densely packed and circling the pot). When you repot, choose a container that is only 1-2 inches larger in diameter than the current one.
Can I grow oregano and thyme from grocery store cuttings?
Yes, you can! It’s a fun experiment. Take a healthy, fresh-looking sprig of oregano or thyme, remove the leaves from the bottom 2-3 inches of the stem, and place the stem in a glass of water. Change the water every couple of days. In a few weeks, you should see small white roots begin to form.