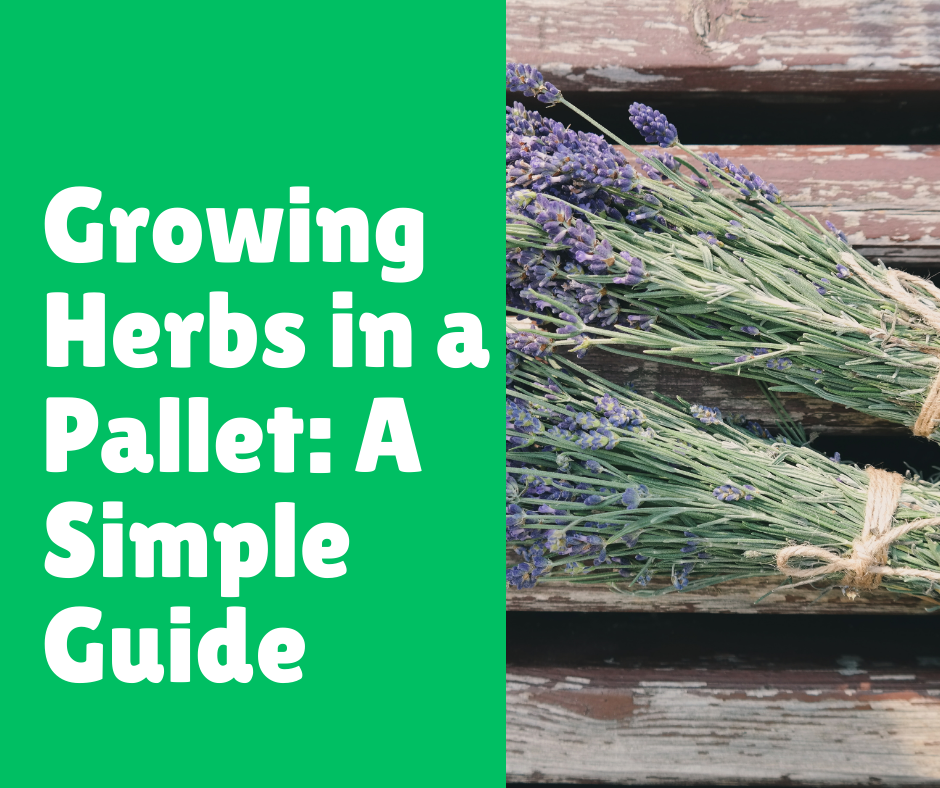
Growing Herbs in a Pallet: A Simple Guide
Post Disclaimer
Content on this site is for educational use only and not a substitute for medical advice. Herbal remedies are based on traditional knowledge and not medical recommendations. Please consult a healthcare professional before trying any herb. We do not assume responsibility for any outcomes or adverse effects resulting from the use of information provided here.
Have you ever wished you could grow your own herbs but felt discouraged by a lack of space or gardening experience?
As a city dweller, I’ve been in your shoes squeezed into a small apartment with limited room for a garden, yet still dreaming of fresh basil, rosemary, and mint for my kitchen. That’s when I stumbled upon pallet gardening.
The beauty of growing herbs in a pallet is that it combines simplicity with practicality, even in tight urban spaces.
Pallet gardening is not just a trendy idea; it’s a sustainable and efficient way to grow fresh herbs right at your doorstep, balcony, or even inside your home.
This post will walk you through the entire process selecting a pallet, setting it up, planting, and maintaining your own herb garden.
I’ll share tips and mistakes I’ve learned from experience, so you can avoid the common pitfalls and enjoy the satisfaction of plucking herbs from your garden daily.
Why Should You Grow Herbs in a Pallet?
1. Space-Saving
Living in a small apartment means every inch of space counts. A pallet garden utilizes vertical space, allowing you to grow a variety of herbs without sacrificing room for other activities. It’s like transforming unused space into something productive, all while adding a touch of greenery to your living area.
2. Accessibility
As someone who’s spent hours bending over low garden beds, I can tell you, pallet gardening is a back-saver. You can set up the pallet at a comfortable height, making planting, watering, and harvesting so much easier.
3. Low Maintenance
Herbs are incredibly low-maintenance once they’re planted. Growing them in a pallet garden keeps them organized and easier to manage. Plus, it keeps pests at bay better than traditional garden beds because the soil in pallets tends to drain better.
4. Sustainability
The best part? Pallet gardening is an eco-friendly choice. Instead of buying new planters, you can reuse a wooden pallet often free from local businesses making it a perfect upcycling project. It’s a win-win for you and the planet.
Choosing the Right Pallet and Location for Your Herb Garden
You can’t just grab any old pallet lying around. For a thriving herb garden, here’s what you need to keep in mind:
1. Picking the Perfect Pallet
When selecting a pallet, opt for one that’s:
- Untreated: Make sure it’s free from chemicals like pesticides or fungicides. Look for the “HT” (heat-treated) label instead of “MB” (methyl bromide-treated) to ensure it’s safe for planting.
- Solid and Sturdy: Check for cracks or broken slats. A pallet that’s too damaged won’t hold your herbs for long. If you find an old pallet that’s falling apart, it might be better to get a replacement or consider patching it up.
2. Finding the Right Spot
Where you place your pallet is just as important as how you build it. Consider the following:
- Sunlight: Most herbs love full sun. Place your pallet garden where it’ll get 4-6 hours of direct sunlight each day, such as on a balcony or near a sunny wall.
- Protection from Wind: Herbs can be delicate, so it’s ideal to put your pallet garden somewhere that protects it from strong winds that could damage the plants.
- Accessibility: Think about how easy it is for you to reach your garden to water, prune, and harvest. A spot close to your kitchen or door makes it easy to grab fresh herbs when cooking.
Step-by-Step Guide to Setting Up Your Pallet Herb Garden
Once you’ve chosen the right pallet and location, the real fun begins! Here’s how I set up my pallet garden, and you can too.
Materials You’ll Need
- 1 wooden pallet (make sure it’s clean and untreated)
- Landscape fabric or burlap (to line the back and prevent soil from spilling out)
- Staple gun
- Potting soil
- Compost (optional, for better soil quality)
- Herb plants or seeds
- Garden gloves
Step 1: Prepare the Pallet
Start by placing your pallet on a flat surface. If you’re setting it on the ground, you might want to elevate it slightly with bricks or blocks for better drainage. Use your staple gun to attach landscape fabric or burlap to the back and sides of the pallet. This will prevent soil from falling through the slats and ensure it stays intact.
Step 2: Fill with Soil
Next, fill each section of the pallet with potting soil. You’ll want a mix that drains well, as most herbs don’t like sitting in waterlogged soil. I personally like to mix some compost into the potting soil for added nutrients, especially if the pallet is going to be exposed to direct sunlight, which can dry the soil out quickly.
Step 3: Plant Your Herbs
Now comes the exciting part planting your herbs! Here are some of my favorites that thrive in pallets:
- Basil: A warm-weather herb that loves full sun.
- Mint: Grows well in almost any condition and doesn’t require much attention.
- Thyme: A low-maintenance herb that works great in small spaces.
- Oregano: Hardy and easy to grow, perfect for adding flavor to Italian dishes.
- Cilantro: A fast-growing herb ideal for cooler temperatures.
Make sure to space the herbs according to their growth habits some grow tall, while others are more spreading.
Step 4: Water and Care
Water your pallet garden thoroughly but ensure there’s good drainage. Herbs don’t like being waterlogged, so it’s important that the pallet has proper drainage holes. Once the plants are settled in, water them regularly, especially during hot months, but avoid over-watering.
Herb Selection Table for Your Pallet Garden
| Herb | Sunlight Requirement | Watering Needs | Space Requirements | Growth Tips |
| Basil | Full Sun (6-8 hours/day) | Regular watering (keep soil moist) | Small to medium space | Prune regularly to promote bushier growth. Perfect for warm weather. |
| Mint | Partial Sun (4-6 hours/day) | Moist soil, but not waterlogged | Spreads quickly, so give it space | Mint is invasive; consider using a container or controlling growth. |
| Thyme | Full Sun (6 hours/day) | Allow to dry out between waterings | Small to medium space | Thrives in dry soil, perfect for drought-prone areas. |
| Oregano | Full Sun (6 hours/day) | Moderate watering (don’t let soil dry completely) | Medium space | Ideal for hot, dry climates. Trim regularly for healthier growth. |
| Cilantro | Partial Sun (4-6 hours/day) | Regular watering (especially in heat) | Small space | Grows quickly, but bolts in high heat. Harvest early for best flavor. |
Maintenance and Harvesting Your Pallet Herb Garden
One of the best parts of pallet gardening is how easy it is to maintain. Here are a few tips to keep your herb garden thriving:
- Watering: Water when the top inch of soil feels dry. Be mindful not to overwater.
- Pruning: Regularly prune your herbs to promote healthy growth. For instance, trim the leaves of basil and mint to prevent them from becoming too leggy.
- Fertilizing: Fertilize your herbs once a month with a balanced liquid fertilizer to boost their growth.
As for harvesting, start picking leaves once the plants have established a strong root system and have plenty of growth. Always trim the top leaves to encourage more growth, especially for herbs like basil and oregano.
Common Mistakes to Avoid in Pallet Herb Gardening
As someone who’s made mistakes along the way, here are a few to avoid:
- Ignoring Drainage: I once used a pallet without proper drainage, and the plants didn’t thrive. Make sure you add enough holes to allow excess water to escape.
- Overcrowding: Avoid planting too many herbs in one pallet. Some herbs grow large, and others need space to breathe.
- Using the Wrong Soil: Don’t skimp on quality soil. I once used cheap soil, and it caused poor drainage, leading to unhealthy plants. Use a good-quality potting mix that’s designed for herbs.
Conclusion: Start Your Pallet Herb Garden Today!
Growing herbs in a pallet garden is a fun, simple, and sustainable way to bring fresh flavors to your kitchen. Whether you’re a seasoned gardener or a beginner, this project is a great way to enjoy homegrown herbs, even in the smallest of spaces.
Key Takeaways:
- Choose a non-toxic, sturdy pallet.
- Select a sunny, wind-protected spot for your garden.
- Fill the pallet with well-draining soil and compost.
- Regularly care for and harvest your herbs for maximum flavor.
So, are you ready to start your own pallet herb garden? I’d love to hear how it turns out or if you have any other gardening tips.
FAQs: Common Questions about Growing Herbs in a Pallet
Q1: Can I grow vegetables in a pallet instead of herbs?
Absolutely! Pallets are versatile, and many vegetables, like lettuce and spinach, can thrive in them. Just make sure the vegetable you choose doesn’t require too much space to spread out.
Q2: How often should I water my pallet herb garden?
Watering depends on the climate and weather conditions, but generally, you should water your herbs when the top layer of soil feels dry. In hot weather, this could mean watering every day or two.
Q3: Can I grow herbs indoors in a pallet garden?
Yes! If you have a sunny window, you can grow herbs indoors in a pallet garden. Just make sure it gets enough natural light, or supplement it with grow lights.