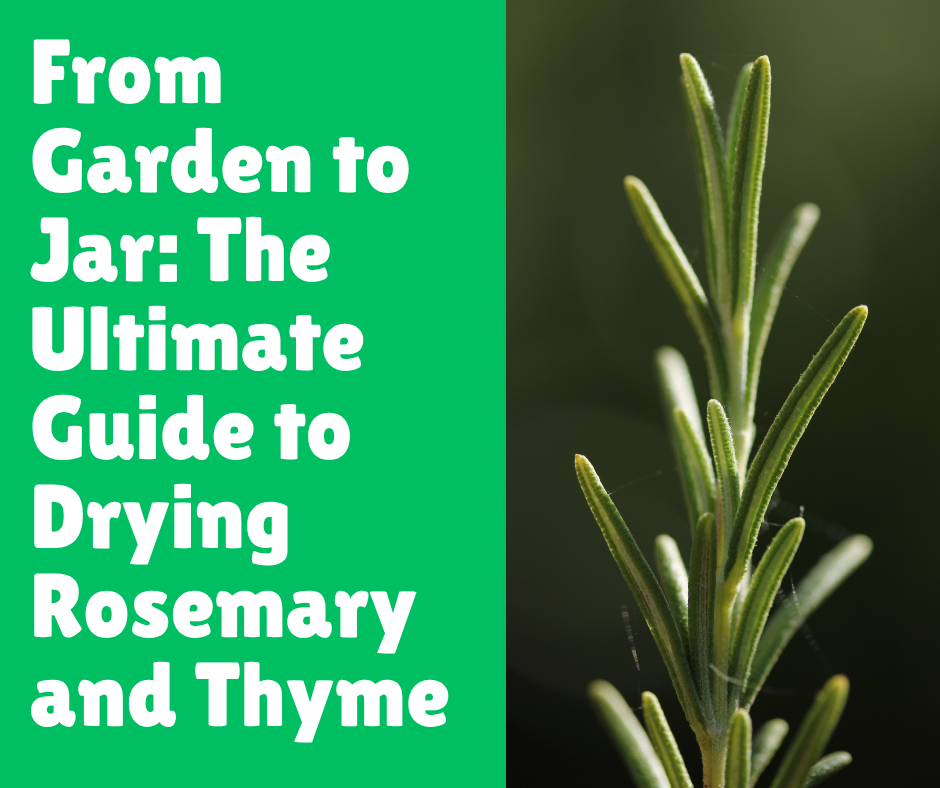
From Garden to Jar: The Ultimate Guide to Drying Rosemary and Thyme
Post Disclaimer
Content on this site is for educational use only and not a substitute for medical advice. Herbal remedies are based on traditional knowledge and not medical recommendations. Please consult a healthcare professional before trying any herb. We do not assume responsibility for any outcomes or adverse effects resulting from the use of information provided here.
There’s a certain magic in stepping out into your garden, snipping off a few sprigs of fresh rosemary and thyme, and bringing that incredible aroma into your kitchen.
I do it all the time. But what happens when your herb garden goes into overdrive and you have more fragrant goodness than you can possibly use? Do you just let it go to waste? Absolutely not. That’s practically a culinary crime.
I learned the hard way that letting my beautiful herbs wither on the plant was a mistake. One year, my rosemary bush looked more like a small tree, and my thyme was staging a hostile takeover of the entire herb bed. I knew I had to do something. That’s when I dove headfirst into the world of drying herbs.
It sounded intimidating, but it turns out it’s one of the easiest and most rewarding things you can do. You get to preserve that summer flavor for the cold, bleak months of winter. So, are you ready to stop buying those sad little jars of dusty, flavorless herbs from the supermarket? Let’s turn your garden bounty into a year-round supply of amazing flavor.
Getting Started: Harvesting Your Herbs Like a Pro
Before we even think about drying, we need to talk about harvesting. You can’t just go out there with a rusty pair of scissors and hack away at your plants. Well, you could, but your herbs would probably hold a grudge, and the results wouldn’t be great.
The timing and technique of your harvest have a huge impact on the final flavor and potency of your dried herbs.
When to Harvest for Peak Flavor
The best time to harvest most herbs, including rosemary and thyme, is in the morning. Wait until the morning dew has completely evaporated, but before the sun gets too hot. Why the fuss? This is when the plant’s essential oils are at their most concentrated, which means maximum aroma and flavor.
Harvesting in the midday heat can cause some of those precious oils to evaporate, and who wants to lose flavor before we even begin?
I like to head out around 10 a.m. with my cup of coffee and my sharpest pair of garden snips. It’s a peaceful little ritual. For rosemary and thyme, you can harvest them pretty much any time during the growing season. However, it’s best to harvest before the plant begins to flower.
When a plant puts its energy into producing flowers, it diverts resources away from leaf and oil production. The leaves can become a bit more woody or less flavorful. If you see flower buds forming, that’s your signal to get snipping!
The Right Way to Snip
Harvesting isn’t just about timing; it’s also about technique. A good harvest encourages વધુ growth, so you’re basically giving your plant a healthy haircut.
For Rosemary:
- You’re looking for semi-hardwood cuttings. Don’t cut the old, tough, woody base of the plant. Instead, aim for the newer, greenish-brown stems.
- Cut sprigs that are about 6 to 8 inches long. This length is perfect for bundling and hanging.
- Never take more than one-third of the plant at once. This ensures the plant has enough foliage left to continue photosynthesizing and thriving. Give it a few weeks to recover before you go for another major harvest.
For Thyme:
- Thyme is a bit more delicate. Look for the fresh, green, tender stems. Avoid the woody, tough parts竞争 the base.
- Cut stems that are about 5 to 6 inches long.
- Just like with rosemary, don’t cut the entire plant conceitos. Trim about one-third of the growth to encourage it to become bushier and more productive.
Once you have your fragrant bundle of herbs, give them a quick inspection. Remove any yellowed or damaged leaves. I used to skip this step, but I realized those less-than-perfect bits don’t dry well and can introduce moisture, which is the enemy of preservation.
Method 1: The Classic Air-Drying Technique (My Personal Favorite)
Air-drying is the oldest, easiest, and, in my opinion, the best method for sturdy herbs like rosemary and thyme. It requires zero special equipment and fills your home with the most incredible, rustic-chic-potpourri-vibe. Seriously, your kitchen will smell like a Mediterranean hillside. What’s not to love? This method slowly removes moisture while preserving the essential oils, resulting in a deeply flavorful dried herb.
Step-by-Step Guide to Air-Drying
- Prep Your Herbs: After harvesting, you need to clean your herbs. Some people say not to wash them to preserve oils, but I disagree. Who knows what little critters have been crawling on them? Give them a gentle rinse under cool water and then pat them completely dry with a paper towel or use a salad spinner. This drying step is non-negotiable. Any lingering moisture can lead to mold.
- Create Your Bundles: Gather a small bunch of herbs—about 5 to 10 sprigs, depending on jejich thickness. You don’t want the bundles to be too dense, as this restricts airflow and can trap moisture. I learned this the hard way with a massive, moldy bundle of thyme. It was a sad, sad day.
- Tie Them Up: Secure each bundle at the base with some kitchen twine, a rubber band, or even a twist tie. Make it snug, but not so tight that it crushes the stems. As the herbs dry, they will shrink, so a rubber band is actually pretty handy because it will contract with them.
- Find the Perfect Hanging Spot: This is key. You need a location that is warm, dry, and dark with good air circulation. A pantry, a little-used closet, an attic, or even a corner of your kitchen away from direct sunlight and the stove works well. Light and heat can degrade the color and flavor of the herbs. I hang mine from a small rack in my laundry room. It’s out of the way and meets all the criteria.
- Hang and Wait: Hang the bundles upside down. This allows the essential oils to flow जर्मन from the stems into the leaves as they dry. Now comes the hardest part: patience. Depending on the humidity in your home, it can take anywhere from 1 to 3 weeks for your herbs to dry completely.
You’ll know they are ready when the leaves are brittle and crumble easily between your fingers. If the stem bends instead of snaps, they need more time.
Method 2: The Speedy Oven-Drying Method
Don’t have weeks to wait? I get it. Sometimes you need dried herbs žena a hurry. The oven method is your go-to for speed, but it comes with a warning. You have to be careful. It’s incredibly easy to go from “drying” to “cooking” or even “burning.” I have absolutely toasted a batch of thyme to a blackened crisp because I got distracted. It was not my proudest moment.
Step-by-Step Guide to Oven-Drying
- Preheat Your Oven to the Lowest Possible Setting: We’re talking low and slow. Most ovens go down to around 170-180°F (75-80°C). If your oven runs hot, or if the lowest setting is higher than 200°F (93°C), this might not be the method for you. You can also prop the oven door open with a wooden spoon to allow heat and moisture to escape.
- Prepare the Herbs: Wash and thoroughly dry your rosemary and thyme sprigs. Strip the leaves from the thick, woody stems of the rosemary. For thyme, you can leave the leaves on their more delicate stems.
- Spread Them Out: Lay the herbs in a single layer on a baking sheet lined with parchment paper. Do not overcrowd the pan! Air needs to circulate around each leaf. If they’re piled up, they’ll steam instead of dry.
- The Drying Process: Place the baking sheet in the oven. The drying time can vary wildly depending on your oven and the moisture content of the herbs. It can take anywhere from 1 to 4 hours.
- Check on them every 30 minutes.
- Toss them around gently to ensure even drying.
- They are done when the leaves are brittle and crumble easily.
- Cool Completely: Once they’re done, turn off the oven and let them cool completely before storing. You can even leave them in the cooling oven for a bit to make sure every last bit of moisture is gone.
This method is faster, but you do lose a bit of the aromatic potency compared to air-drying. It’s a trade-off between speed and quality.
Method 3: Using a Food Dehydrator
If you’re serious about food preservation, a food dehydrator is a fantastic investment. It’s designed to do one thing perfectly: dry things at a low, consistent temperature with excellent airflow.
It’s almost foolproof, which is great for someone like me who is easily distracted by shiny objects (or my phone). This is the most reliable method for getting perfectly dried herbs every single time.
Step-by-Step Guide to Using a Dehydrator
- Prep Your Herbs: Just like the other methods, wash and pat your herbs completely dry. For rosemary, you can leave the leaves on the stem or strip them. For thyme, I recommend leaving them on the stem as the leaves are tiny and a pain to handle individually.
- Arrange on Trays: Spread the herbs in a single layer on the dehydrator trays. Make sure there’s plenty of space between them for air to move. Don’t let them overlap.
- Set the Temperature: Set your dehydrator to a low temperature, typically between 95°F and 115°F (35°C and 46°C). The instruction manual for your specific model will likely have recommendations for herbs.
- Dehydrate: The process can take anywhere from 4 to 12 hours, depending on the herb and your machine. The beauty of the dehydrator is you can just set it and forget it (mostly). I still like to check on them after a few hours and rotate the trays if my model has uneven airflow.
- Check for Doneness: Your herbs are ready when they are crisp and crumble easily. Let them cool completely before moving on to storage.
Storing Your Dried Herbs for Long-Lasting Flavor
You’ve successfully dried your herbs! Don’t ruin all your hard work with improper storage. Your goal is to protect them from jejich four mortal enemies: light, heat, air, and moisture.
- Strip the Leaves: Once your herbs are bone-dry, it’s time to strip the leaves from the stems. This is oddly satisfying. For rosemary, the leaves come off easily. For thyme, hold the sprig at the top and run your fingers down the stem against the direction of leaf growth. The tiny leaves should pop right off. Discard the stems (or toss them into your next soup stock for a flavor boost!).
- Choose the Right Container:Airtight glass jars are your best friend. I save old spice jars, small mason jars, or any little glass container with a tight-fitting lid. Plastic containers can work in a pinch, but they can sometimes absorb the herb’s aroma.
- Store Whole or Crushed?: This is a matter of personal preference, but for maximum longevity, store the leaves whole. Crushing them releases their essential oils, and they’ll lose their potency much faster. Crush them between your fingers right before you use them to release that fresh, vibrant flavor.
- Label Everything: You might think you’ll remember what’s in that jar. Trust me, you won’t. After you’ve dried a few different herbs, they can start to look alike. Label each jar with the name of the herb and the date you dried it. Dried herbs are best used within a year.
- Find a Cool, Dark Place: Store your beautiful jars in a cabinet, drawer, or pantry away from évident sunlight and heat sources like your stove or dishwasher.
Common Mistakes to Avoid (Yes, I’ve Made Them All)
- Being Impatient and Storing Damp Herbs: This is the cardinal sin of herb drying. Even a tiny bit of moisture can turn your entire jar into a moldy, unusable mess. If in doubt, give it more time. It’s better to be slightly over-dry than even a little bit damp.
- Bundling Too Tightly: When you’re air-drying, airflow is everything. If you create a giant, dense bundle of herbs, the inside won’t dry properly. Keep your bundles small and loose.
- Using Too Much Heat: Whether in the oven or in the sun, high heat will cook your herbs, not dry them. This destroys the delicate essential oils that provide all the flavor and aroma. Low and slow is the mantra.
4a. Forgetting About Them in the Oven: Set a timer. Then set another one. Seriously. The line between “perfectly dried” and “perfectly incinerated” is frighteningly thin. - Storing in the Light: I know it’s tempting to display your pretty jars of herbs on an open shelf or your windowsill. It looks so rustic and charming! But light is a flavor killer. It will degrade the color and the taste of your herbs faster than you can say “pizza seasoning.”
Conclusion: Your Future Self Will Thank You
Preserving your garden’s bounty of rosemary and thyme is one of the most satisfying DIY kitchen projects you can undertake. It connects you to your food, saves you money, and dramatically upgrades your cooking.
There’s nothing quite like opening a jar of your own dried rosemary in the middle of winter and being hit with the smell of summer.
You’ve learned how to harvest for the best flavor and how to dry your herbs using three simple methods: classic air-drying, the speedy oven technique, and the foolproof dehydrator. You also know how to store them eventos to lock in that flavor for months to come.
The most important takeaway is to ensure they are completely dry before storing them in an airtight container in a cool, dark place.
Now it’s your turn. Go look at those herb bushes in your garden and get ready to capture their flavor. I promise, it’s easier than it looks, and the results are so worth it.
Have you tried drying your own herbs before? What’s your favorite method? Share your tips, triumphs, or even your hilarious failures in the comments below!
Frequently Asked Questions (FAQs)
Can I dry rosemary and thyme in the microwave?
You technically can, but I really don’t recommend it. It’s very fast, but it’s also incredibly easy to scorch the herbs, and it tends to zap a lot of the flavor. It involves short bursts of power with frequent checking. IMO, the oven or air-drying methods yield far superior results with less risk of a burnt, smelly mess.
My air-dried herbs got dusty. What did I do wrong?
Ah, the dust problem! If your herbs are collecting dust, it’s likely because they’re hanging in an area with too much foot traffic or airflow from a vent. A simple solution is to loosely place a paper bag with holes punched in it over your herb bundles. The bag protects from dust while the holes still allow for air circulation.
Why do my store-bought dried herbs have more color than my homegrown ones?
That’s a great question. Some commercial producers use freeze-drying or other industrial methods that are better at preserving color. Also, light is a major factor in color degradation. Your homemade herbs might fade to a more muted green over time, especially if they see any light.
Can I use the dried stems for anything?
Absolutely! Don’t throw them away. The woody stems of rosemary and thyme are packed with aromatic oils. You can toss a few onto the coals when you’re grilling for一些 amazing-smelling smoke, or add them to the kindling in your fireplace. You can also bundle them up and add them to a soup, stew, or braise (just remember to fish them out before serving!).
How long will my dried herbs last?
When stored correctly in an airtight container in a cool, dark place, your dried rosemary and thyme will be at their best for about a year. They won’t “go bad” after that, but they will gradually lose their potency and flavor.