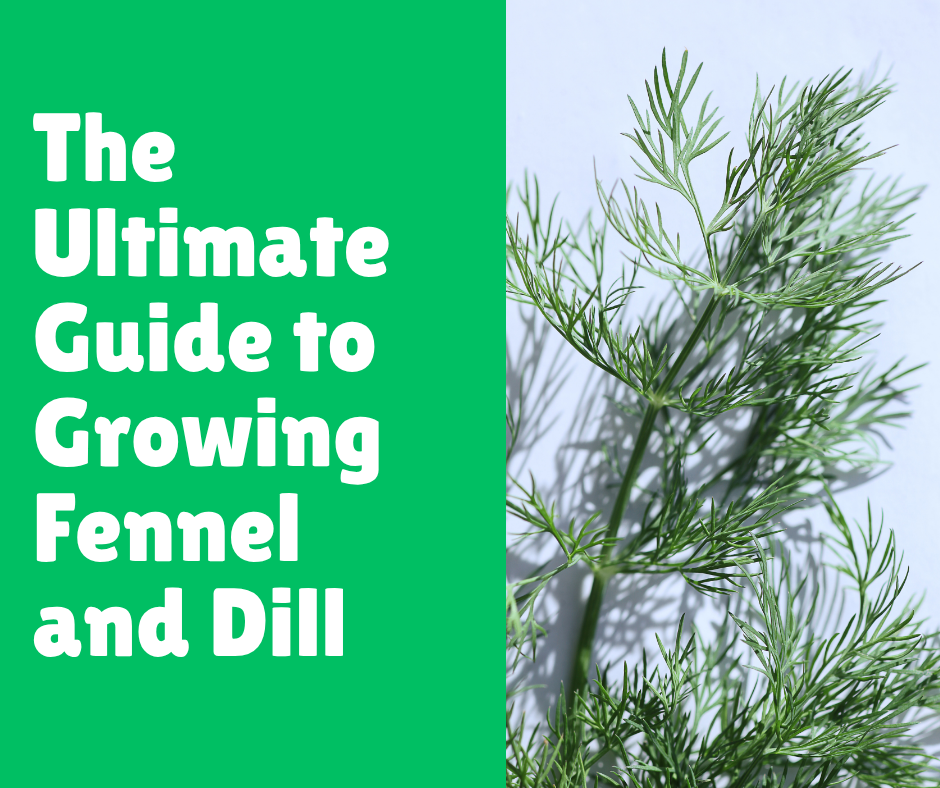
The Ultimate Guide to Growing Fennel and Dill
Post Disclaimer
Content on this site is for educational use only and not a substitute for medical advice. Herbal remedies are based on traditional knowledge and not medical recommendations. Please consult a healthcare professional before trying any herb. We do not assume responsibility for any outcomes or adverse effects resulting from the use of information provided here.
There’s something uniquely satisfying about stepping into your garden and snipping fresh herbs for your kitchen. The scent that fills the air, the vibrant green, and the promise of a delicious meal it’s a simple pleasure I never tire of. Among the many herbs I’ve grown, two have a special place in my garden and my heart: fennel and dill.
They are like culinary cousins, both members of the carrot family, sharing a delicate, feathery appearance and a hint of anise flavor. Yet, they are distinct enough to bring their own magic to the garden and the plate.
Growing these two isn’t just about adding flavor to your cooking; it’s about inviting a little bit of wild beauty into your space. Their tall, airy foliage catches the breeze, and their bright yellow flowers are a magnet for beneficial insects like ladybugs and swallowtail butterflies.
I’ve spent years tending to my patches of fennel and dill, learning their quirks, celebrating their successes, and, yes, making a few mistakes along the way.
If you’ve ever been curious about these two aromatic wonders, you’re in the right place. I’m going to walk you through everything you need to know to cultivate thriving fennel and dill plants in your own outdoor garden.
We’ll cover everything from seed to harvest, and I’ll share some of my personal experiences to help you avoid the pitfalls I stumbled into. Let’s dig in and get our hands dirty!
Getting to Know Your Herbs: Fennel and Dill Unpacked
Before we start planting, let’s get properly acquainted with our new garden companions. While they look similar, especially as seedlings, understanding their individual needs and growth habits is the first step toward a successful harvest.
The Two Faces of Fennel
Fennel is a fascinating plant because it comes in two main varieties, and it’s crucial to know which one you want to grow.
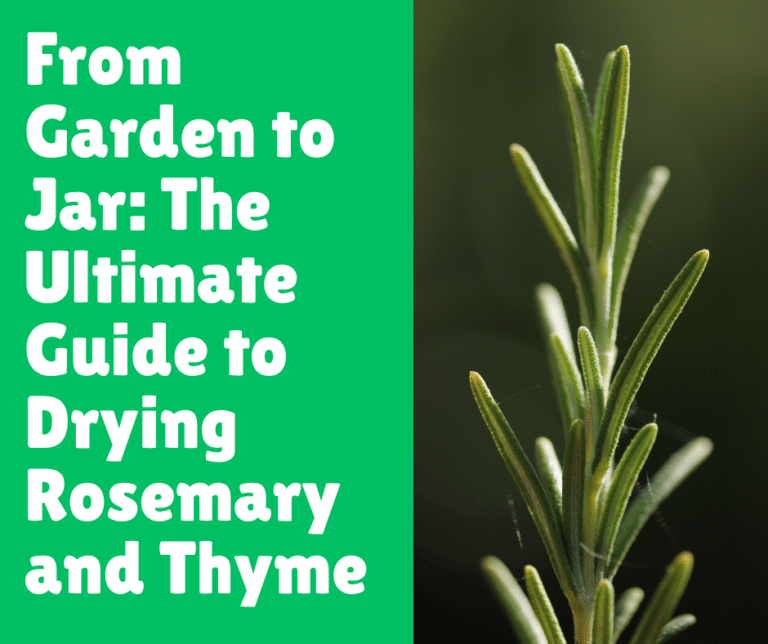
- Herb Fennel (Foeniculumvulgare): This is the type grown primarily for its delicate, anise-flavored fronds and its seeds. It grows tall, sometimes reaching five or six feet, and doesn’t form the large, bulbous base you see in grocery stores. Its leaves are perfect for adding a fresh, light flavor to salads, fish dishes, and sauces. The seeds, harvested in late summer or fall, are a staple in spice blends, sausages, and breads. I love crushing fresh fennel seeds to sprinkle over roasted vegetables—it’s a game-changer.
- Florence Fennel (Foeniculumvulgare var. azoricum): Also known as bulb fennel or finocchio, this variety is cultivated for its swollen, crisp leaf base that looks like a flattened bulb. While you can still use its fronds, the main event is the “bulb.” It has a milder, sweeter anise flavor and a texture similar to celery. It can be eaten raw in salads (shaved thin, it’s divine), grilled, roasted, or braised. The first time I successfully grew a perfectly rounded bulb of Florence fennel, I felt like a gardening champion. It requires a bit more specific care than herb fennel, but the reward is so worth it.
If you’re new to growing fennel, I suggest starting with herb fennel. It’s more forgiving and gives you a feel for the plant’s life cycle. Once you’re comfortable, give Florence fennel a try. There’s nothing quite like pulling a crisp, white bulb you grew yourself from the soil.
The Delightful Versatility of Dill
Dill (Anethumgraveolens) is another feathery friend, but it has a distinctly different personality. Its flavor is a unique blend of anise, parsley, and celery—that classic “dill pickle” scent we all recognize. Unlike fennel, dill is an annual, meaning it completes its entire life cycle in one season. It’s generally grown for two purposes:
- Dill Weed: These are the soft, feathery leaves (fronds). They are best used fresh, as they lose much of their flavor when dried. I am constantly snipping dill weed for potato salads, cucumber dishes, yogurt sauces, and, of course, to lay over a beautiful piece of salmon.
- Dill Seed: After dill produces its signature yellow, umbrella-like flower heads (called umbels), it forms seeds. These seeds have a much stronger, slightly pungent flavor compared to the leaves. They are essential for pickling, and are also fantastic in breads, stews, and cabbage dishes.
Dill is a relatively fast grower, often bolting (going to flower) quickly in hot weather. This isn’t necessarily a bad thing, especially if you want to harvest seeds or attract pollinators. I’ve learned to embrace the bolt and see it as the plant transitioning to its next useful stage.
From Seed to Sprout: The Ultimate Planting Guide
Now for the fun part: planting! Both fennel and dill have a strong preference for being sown directly into the garden. They have long taproots that don’t appreciate being disturbed, which can happen when you transplant seedlings from pots.
Step-by-Step: Sowing Fennel and Dill Directly in Your Garden
Step 1: Choose the Perfect Spot
This is arguably the most important decision you’ll make. Both herbs need:
- Full Sun: At least 6-8 hours of direct sunlight per day is non-negotiable. Without it, your plants will be leggy, weak, and less flavorful.
- Well-Drained Soil: They hate “wet feet.” If your garden has heavy clay soil, amend it generously with compost or other organic matter to improve drainage. Raised beds are a fantastic solution for ensuring good drainage.
- Rich Soil: Before planting, work a few inches of well-rotted compost or a balanced organic fertilizer into the top 6-8 inches of your soil. This gives them the nutrients they need to get off to a strong start.
A Crucial Note on Companion Planting: Here’s a piece of garden wisdom you need to know: Do not plant fennel and dill right next to each other. While they are relatives, they can cross-pollinate. This can result in seeds that produce plants with a muddled, less desirable flavor. I keep my fennel patch on one side of the garden and my dill on the completely opposite side.
Also, fennel is known to inhibit the growth of some other plants, like bush beans and tomatoes, so give it its own dedicated space away from sensitive neighbors. Dill, on the other hand, is a great companion for things like cabbage and lettuce.
Step 2: Timing is Everything
- For Fennel: Sow seeds directly in the garden around your last spring frost date. For a continuous harvest of Florence fennel bulbs, I practice succession planting. I sow a small batch of seeds every 2-3 weeks from spring through mid-summer. This prevents me from having all my bulbs ready at once. For a fall harvest of bulbs (which are often sweeter and less prone to bolting), sow seeds in mid-to-late summer, about 90-100 days before your first expected fall frost.
- For Dill: Dill grows much faster. Start sowing seeds a week or two before your last frost and continue planting a new batch every 2-3 weeks throughout the summer. This ensures you have a constant supply of fresh dill weed, as older plants will focus their energy on producing flowers and seeds.
Step 3: Sowing the Seeds
The process is the same for both:
- Create shallow furrows in your prepared soil, about ¼ to ½ inch deep.
- Lightly sprinkle the seeds into the furrows. Don’t worry about perfect spacing just yet; we’ll thin them later.
- Gently cover the seeds with soil and pat it down lightly.
- Water the area gently with a fine spray, like from a watering can with a rose attachment, to avoid washing the seeds away.
- Keep the soil consistently moist until germination, which usually takes 10-14 days.
Step 4: The Art of Thinning
This step feels brutal to new gardeners, but it’s absolutely essential for healthy plants. Crowded seedlings compete for light, water, and nutrients, resulting in weak plants for everyone.
- Herb Fennel and Dill: Once the seedlings are a few inches tall, thin them so they are spaced about 8-12 inches apart.
- Florence Fennel: These plants need more room for their bulbs to develop. Thin them to a final spacing of at least 12-18 inches apart.
My trick for thinning is to use a small pair of scissors and snip the unwanted seedlings at the soil line. This avoids disturbing the roots of the seedlings you want to keep. And don’t throw away the thinnings! They are tiny, but they are packed with flavor and make a wonderful micro-garnish for a salad.
Tending Your Herbs: Care and Maintenance for a Bountiful Harvest
Once your seedlings are established, the real gardening begins. Consistent care will ensure your plants are healthy, productive, and flavorful.
Watering and Feeding
- Watering: Both fennel and dill prefer consistent moisture, but not waterlogged soil. I check my plants every couple of days, especially during hot, dry spells. A good rule of thumb is to stick your finger about an inch into the soil. If it feels dry, it’s time to water. Water deeply at the base of the plant to encourage deep root growth. For Florence fennel, inconsistent watering can cause the bulb to split, so it’s especially important to keep the soil evenly moist.
- Feeding: If you prepared your soil with plenty of compost, you may not need to fertilize much. I usually give my plants a mid-season boost with a liquid organic fertilizer, like fish emulsion or seaweed extract, especially the Florence fennel which is a heavier feeder. Avoid high-nitrogen fertilizers, which can encourage lots of leafy growth at the expense of bulb formation (for Florence fennel) or flavor.
Special Care for Florence Fennel: Hilling
To get those beautiful, white, tender bulbs on your Florence fennel, you need to practice “hilling” or “blanching.” When you see the base of the stem start to swell and form a small bulb (usually when it’s about the size of an egg), mound soil up around it. This blocks the sun from hitting the bulb, keeping it white and preventing it from turning green and bitter. I continue to mound soil up around the bulb as it grows, leaving just the stalks and fronds exposed.
Pest and Disease Management
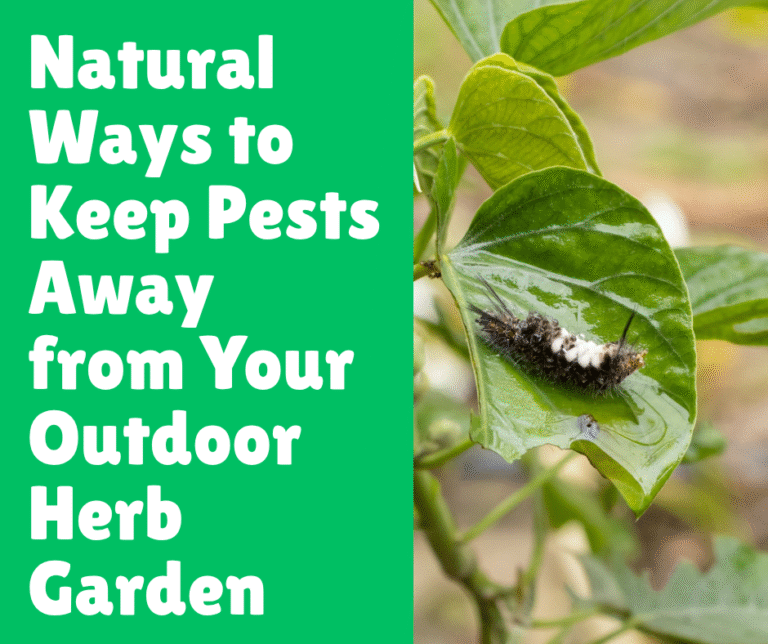
One of the best things about growing these herbs is that they are relatively pest-free. Their strong scent naturally repels many common garden pests. However, there is one visitor you should welcome: the Black Swallowtail caterpillar.
These beautiful striped caterpillars absolutely adore plants in the carrot family, including fennel, dill, parsley, and carrots.
You might see them munching on the fronds. My first instinct years ago was to panic and remove them. But I quickly learned that these are the larvae of the stunning Black Swallowtail butterfly.
Now, I plant extra just for them. I consider it my contribution to the local ecosystem. If you find they are eating too much, you can gently relocate them to a “sacrificial” plant, but I encourage you to share your bounty.
Occasionally, you might see aphids. A strong blast of water from the hose is usually enough to dislodge them.
Harvest Time! Reaping Your Aromatic Rewards
Harvesting is the moment we’ve all been waiting for. How and when you harvest depends on what part of the plant you want.
Harvesting Fronds (Dill Weed and Fennel Leaves)
You can start snipping the fronds as soon as the plants are established and have a good amount of foliage (usually around 6-8 inches tall).
- Use scissors or your fingers to snip the outer fronds.
- Never take more than one-third of the plant at a time. This allows it to continue photosynthesizing and growing.
- Harvest in the morning after the dew has dried for the best flavor.
- Both fennel and dill fronds are best used fresh. You can store them in the refrigerator for a few days with their stems in a jar of water, like a bouquet of flowers.
Harvesting Florence Fennel Bulbs
Your bulbs will be ready to harvest about 90 days after sowing, when they are roughly the size of a tennis ball or a small fist.
- Don’t wait too long! If the bulbs get too large, they can become tough and fibrous.
- To harvest, use a sharp knife to cut the plant off at the soil line. Some gardeners prefer to pull the whole plant up, but I find cutting is cleaner.
- You can leave the root in the ground. Sometimes, it will send up small new shoots that you can use as a garnish.
- Trim the stalks and fronds off, leaving about an inch attached to the bulb. Don’t discard the trimmings! The stalks can be used in stocks, and the fronds can be used just like herb fennel.
Harvesting Seeds (Fennel and Dill)
This is a lesson in patience. You need to let the plants flower and then wait for the seeds to form and mature.
- After the yellow flowers fade, seed heads will form.
- Watch for the seeds to turn from green to brown. This is your signal that they are ripe.
- Be ready to act fast. Once ripe, the seeds will drop readily.
- To harvest, I cut the entire seed head off and place it upside down in a paper bag. I hang the bag in a dry, airy place for a week or two.
- The seeds will dry and fall off into the bottom of the bag. You can then shake the stalk to release any remaining seeds.
- Store your homegrown seeds in an airtight jar in a cool, dark place. The flavor will be far superior to anything you can buy at the store.
Common Mistakes to Avoid
Over the years, I’ve made my share of blunders. Here are a few key mistakes to help you sidestep the learning curve.
- Planting Fennel and Dill Too Close Together: As I mentioned, this is the cardinal sin. The cross-pollination really does create a weird, muddled flavor in the resulting seeds. Keep them separated in your garden plan.
- Transplanting Instead of Direct Sowing: I tried this once with seedlings I bought from a nursery. They looked great in their pots, but they sulked for weeks after being planted in the garden and never truly thrived. Their sensitive taproots just can’t handle the disturbance. Always sow seeds directly in the ground if you can.
- Inconsistent Watering, Especially for Florence Fennel: A week of neglect during a hot spell can cause your developing Florence fennel bulbs to split right open. They become woody and are basically ruined. Set a reminder, use a drip irrigation system, or make it a part of your daily routine to check the soil moisture.
- Harvesting Florence Fennel Too Late: Bigger is not better with these bulbs. I once let a bulb grow to the size of a softball, feeling very proud of myself. When I cut into it, it was tough, stringy, and had a very strong, almost bitter flavor. Harvest when they are tender and tennis-ball-sized.
- Panicking About Caterpillars: Seeing your beautiful herbs being eaten can be alarming. But before you reach for a pesticide or start picking them off, identify the caterpillar. If it’s the striped Black Swallowtail larva, try to see it as a success. You’re not just a gardener; you’re a habitat creator!
Conclusion: Your Journey with Fennel and Dill
Growing fennel and dill is an incredibly rewarding experience that extends far beyond the kitchen. It’s about engaging your senses, participating in the ecosystem of your garden, and enjoying the rhythm of the seasons. From the first hint of an anise scent on a warm day to the joy of harvesting a perfect, crisp bulb, these herbs offer a journey of discovery.
We’ve covered the essentials: understanding the different types, choosing the right spot, planting and caring for them, and finally, reaping the harvest. Remember to sow directly, give them plenty of sun, keep them consistently watered, and don’t be afraid to share a little with the butterflies.
I hope this guide has inspired you to make room for fennel and dill in your garden. There’s a special kind of pride that comes from cooking a meal seasoned with herbs you nurtured from a tiny seed.
Now, I’d love to hear from you! Do you grow fennel or dill? Do you have any tips or favorite recipes to share? Leave a comment below and let’s get the conversation started. Happy gardening!
Frequently Asked Questions (FAQs)
My dill plants are falling over. What should I do?
This is very common, as dill can grow quite tall and its stems are relatively thin. You can provide support by placing stakes around the plant and using garden twine to create a loose corral. Planting them in a block, rather than a single row, can also help the plants support each other. Sometimes, leggy, floppy plants are a sign they aren’t getting enough direct sunlight.
Can I grow fennel and dill in containers?
Yes, you can, but you need a very large container. Because of their long taproots, you should choose a pot that is at least 12-18 inches deep and just as wide. A 5-gallon pot is a good minimum size per plant. Container-grown plants also dry out much faster, so you’ll need to be extra vigilant about watering.
Why did my Florence fennel not form a bulb? It just grew into a tall, skinny plant.
This is a common frustration and is almost always caused by one of three things: heat, crowding, or lack of water. Florence fennel is sensitive to heat and will “bolt” (go to flower) instead of forming a bulb if temperatures get too high too quickly.
Is it true that fennel is toxic to other plants?
“Toxic” is a strong word, but fennel does exhibit allelopathy, which means it releases biochemicals into the soil that can inhibit the growth of some other plants. It is particularly known to have a negative effect on bush beans, kohlrabi, and tomatoes. It’s not that it will kill them instantly, but they may appear stunted or less productive when planted too close.
My dill went to flower really fast. Did I do something wrong?
Not at all! Dill is a fast-growing annual that is genetically programmed to bolt, especially when the days get longer and hotter. This is its natural life cycle. To ensure a continuous supply of dill weed, the best strategy is succession planting sowing a new batch of seeds every 2-3 weeks.