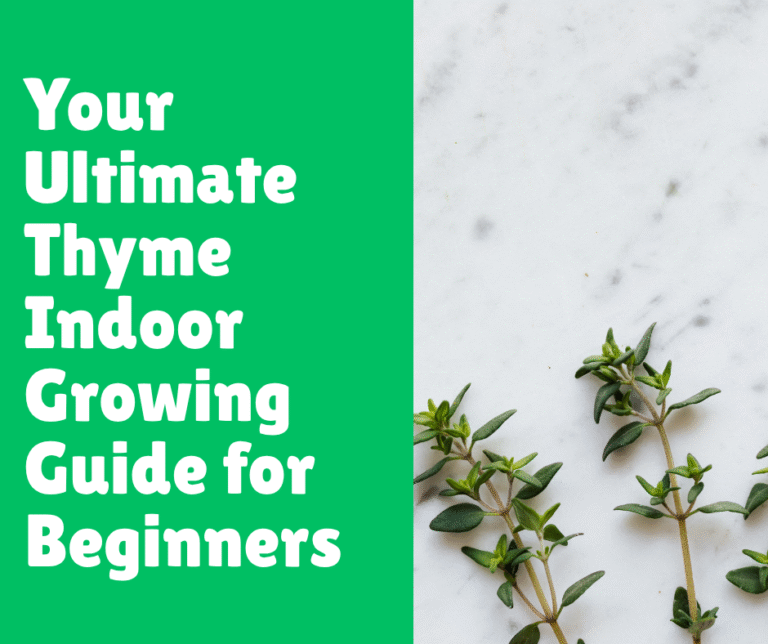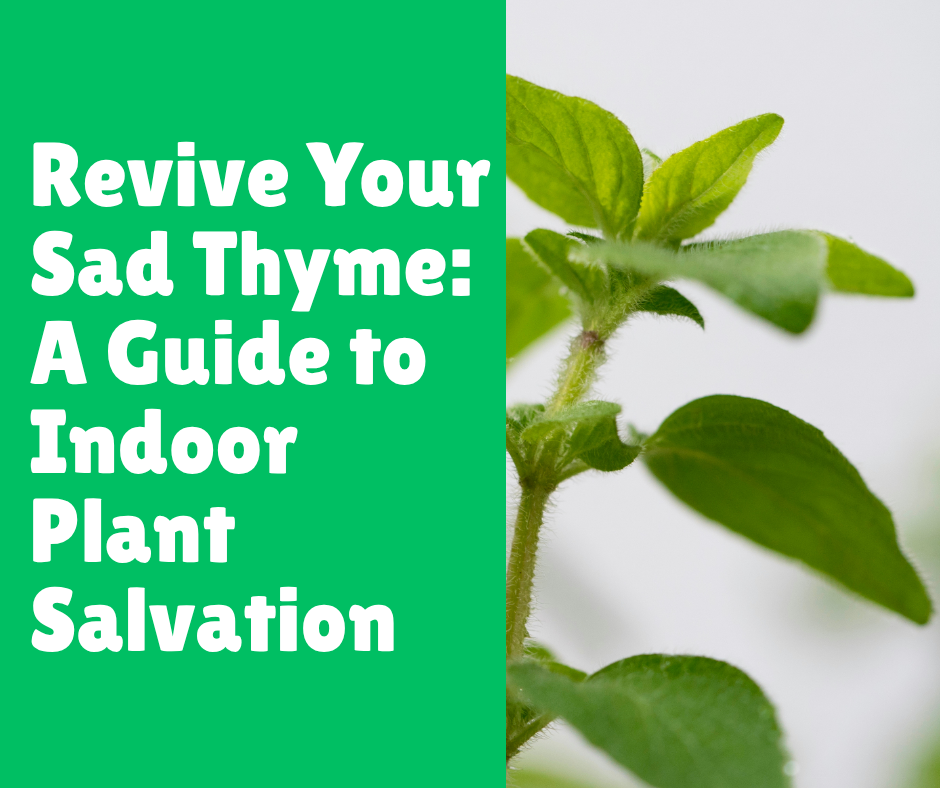
Revive Your Sad Thyme: A Guide to Indoor Plant Salvation
Post Disclaimer
Content on this site is for educational use only and not a substitute for medical advice. Herbal remedies are based on traditional knowledge and not medical recommendations. Please consult a healthcare professional before trying any herb. We do not assume responsibility for any outcomes or adverse effects resulting from the use of information provided here.
I see you. You’re staring at that sad, crispy-looking plant on your windowsill that was once a vibrant, fragrant thyme. You had dreams of snipping fresh sprigs for your roast chicken, but now it looks more like a prop from a post-apocalyptic movie.
Don’t throw in the towel (or the plant) just yet. I’ve been there, staring down a botanical tragedy and wondering where I went wrong. It feels personal, doesn’t it? Almost like the plant is judging your life choices.
The good news is that thyme isn’t trying to be difficult, but it has some strong opinions about its living conditions. Growing it indoors is a bit like having a houseguest who’s used to the Mediterranean sun and suddenly has to deal with your drafty apartment.
With a few tweaks and a little know-how, you can turn that brown, brittle mess back into the culinary herb of your dreams. Let’s dive into what’s likely going wrong and, more importantly, how to make it right.
Why Your Thyme Is Throwing a Fit: The Root of the Problem
Before we can fix anything, we need to play detective. An unhappy thyme plant usually points back to one of a few core issues. Think of these as the prime suspects in the case of the dying herb. Most of the time, the culprit isn’t a mysterious disease but something much simpler.
The Great Indoors vs. The Great Outdoors
The biggest challenge is remembering where thyme comes from. Imagine a rocky, sun-drenched hillside in Greece. The soil is gritty, the sun is relentless, and the rain is infrequent.
That’s thyme’s happy place. Now, compare that to your cozy, centrally heated living room with its filtered light and regular watering schedule. See the problem? We’re essentially trying to make a sun-worshipping desert dweller happy in a rainforest-like environment.
Your job isn’t to perfectly replicate the Mediterranean coast (unless you can, in which case, I’m jealous).
Instead, your goal is to understand thyme’s fundamental needs and mimic them as best as you can within the four walls of your home. It’s all about compromise.
Suspect 1: Waterlogged Roots (aka “Loving It to Death”)
This is, without a doubt, the number one killer of indoor thyme. I get it; we see a plant, and our first instinct is to water it. We think we’re being nurturing!
But for thyme, this is the equivalent of a constant, suffocating hug. The plant’s roots are designed for dry, airy conditions. When they sit in soggy soil, they can’t breathe.
This leads to a dreaded condition called root rot. The roots turn brown, get mushy, and stop delivering nutrients to the rest of the plant. Above ground, you’ll see the leaves turning yellow, then brown and crispy, starting from the bottom up.
It’s a cruel irony, isn’t it? The plant looks dry and dead, so you water it more, which only makes the problem worse.
Suspect 2: Not Enough Sun (aka “The Vampire Treatment”)
Thyme is a full-blown sun worshipper. It needs, at a minimum, six to eight hours of direct, bright sunlight every day. A north-facing window simply won’t cut it.
Your thyme isn’t being dramatic; it’s literally starving for light. Photosynthesis, the process that creates its food, depends entirely on sunlight.
When thyme doesn’t get enough light, it becomes “leggy.” This is where the stems get long, pale, and stretched out, with sparse leaves. The plant is desperately reaching for any light source it can find.
This weakened growth makes it more susceptible to pests and diseases, and it definitely won’t have that classic, robust thyme flavor.
Suspect 3: The Wrong Soil Mix (aka “A Spa Day Gone Wrong”)
Remember that gritty, rocky hillside? Thyme hates having “wet feet.” Standard potting soil, the kind you buy for most houseplants, is designed to retain moisture.
For thyme, that’s a death sentence. It’s too dense, holds too much water, and doesn’t allow the roots to get the air they need.
Using heavy soil is like forcing your thyme to wear wet socks 24/7. It promotes root rot and prevents the plant from thriving. The ideal soil for thyme is one that drains almost as quickly as you water it.
The Thyme Turnaround: A Step-by-Step Revival Plan
Okay, enough with the diagnosis. It’s time for the treatment plan. If your thyme is still showing any signs of life a few green leaves, stems that aren’t completely brittle—there is hope! We’re going to perform a little plant CPR.
Step 1: Emergency Repotting and Root Inspection
First things first, you need to get that plant out of its current pot. This is non-negotiable, especially if you suspect overwatering.
- Gently Remove the Plant: Tip the pot on its side and gently coax the entire soil ball out. If it’s stuck, give the sides of the pot a few firm taps. Don’t pull on the stems!
- Inspect the Roots: This is the moment of truth. Brush away as much of the old, wet soil as you can. Healthy roots should be white or light tan and feel firm. If you see brown, black, mushy, or smelly roots, that’s root rot.
- Perform Root Surgery: Take a clean, sharp pair of scissors or pruning shears and trim away every single bit of dead, mushy root. Be ruthless. You’re saving the plant’s life. If you leave any rot behind, it will just continue to spread.
- Let It Breathe: If the root ball was seriously waterlogged, I sometimes let it sit out on a piece of newspaper for an hour or two to air-dry slightly before repotting. This helps reduce the shock of going from a swamp into new soil.
Step 2: Choosing the Right Home (Pot and Soil)
This is where you set your thyme up for future success. It’s all about drainage, drainage, and more drainage.
The Perfect Pot
Your new pot must have a drainage hole. I can’t stress this enough. If your cute decorative pot doesn’t have one, either drill one yourself or use it as a cachepot (a decorative outer pot) with a plain nursery pot inside.
Terracotta is your best friend. Why? It’s porous. The clay literally pulls moisture out of the soil, helping it dry out faster. This provides a crucial buffer against overwatering. Plastic pots work, but they hold moisture in, so you’ll need to be extra careful with your watering can.
The Ideal Soil Mix
You are now a soil mixologist. Ditch the standard potting mix. You’re going to create a custom blend that your thyme will adore.
- The Recipe: Mix one part standard potting soil, one part perlite (or coarse sand), and one part coco coir or peat moss.
- Why It Works: The potting soil provides some nutrients. The perlite or sand is the key ingredient; it creates air pockets and ensures sharp drainage. The coco coir or peat moss helps retain just enough moisture so the soil doesn’t turn to dust, but not so much that it gets soggy.
When you fill the new pot, don’t pack the soil down too tightly. Keep it light and airy.
Step 3: The Art of Watering (Less Is More)
Forget a watering schedule. Your new mantra is: “Water only when the soil is completely dry.”
How do you check? The finger test is your most reliable tool. Stick your index finger into the soil up to the second knuckle.
If you feel any moisture whatsoever, do not water it. Walk away. Wait another day or two and check again. When it feels bone dry, it’s time.
When you do water, do it thoroughly. Pour water over the soil until it runs freely out of the drainage hole. This ensures the entire root ball gets a drink. Then, and this is important, dump out any excess water from the saucer. Never, ever let the pot sit in a puddle of water.
Step 4: Let There Be Light! (Lots of It)
Now, let’s address the light situation.
- Find the Sunniest Spot: Your thyme needs to be in the brightest, sunniest window you have. A south-facing window is ideal in the Northern Hemisphere. An east or west-facing window can work if it gets several hours of direct sun.
- When a Window Isn’t Enough: Let’s be real, not everyone has a perfect south-facing window. If your home is on the darker side, a grow light is a game-changer. You don’t need a fancy, expensive setup. A simple full-spectrum LED bulb screwed into a desk lamp will do the trick. Position it a few inches above the plant and leave it on for 10-12 hours a day. IMO, this is the single best investment for anyone serious about growing herbs indoors.
Step 5: Pruning for a Bushy, Happy Plant
Don’t be afraid to give your thyme a haircut. Regular pruning encourages it to grow bushy and full instead of tall and lanky. It also improves air circulation around the plant, which helps prevent fungal issues.
Simply snip off the top few inches of each stem. You can use these clippings in your cooking! The best time to prune is after the plant has put on a bit of new growth. Avoid cutting back more than one-third of the plant at a time.
Common Mistakes to Avoid (I’ve Made Them All)
We all make mistakes. The key is to learn from them. Here are a few common pitfalls I’ve fallen into so you don’t have to.
- The “Misting” Myth: Some people advise misting herbs to increase humidity. Do not mist your thyme. It hates humidity. Misting creates a damp environment on the leaves, which is a perfect invitation for powdery mildew and other fungal diseases. Remember: Mediterranean hillside, not tropical jungle.
- Fertilizing Too Much: Thyme is not a heavy feeder. It’s adapted to poor, rocky soils. Over-fertilizing can lead to lush, weak growth with very little flavor and can even burn the roots. If you feel you must fertilize, do it once in the spring with a heavily diluted, balanced liquid fertilizer. That’s it.
- Using a Pot That’s Too Big: It seems counterintuitive, right? You’d think a bigger pot means more room to grow. But a pot that is too large holds a huge volume of soil that stays wet for a long time because the small root system can’t absorb the water fast enough. This is a fast track to root rot. Choose a pot that is only 1-2 inches wider than the current root ball.
- Ignoring Air Circulation: Stagnant, humid air is another enemy. If your plant is in a stuffy corner, it’s more prone to problems. Try to place it where there’s some gentle air movement not a direct draft from a vent, but just an open area. A small, quiet fan pointed away from the plants can also work wonders in a pinch.
Conclusion: You’ve Got This!
Bringing a thyme plant back from the brink is incredibly satisfying. It’s a journey from crispy despair to aromatic delight. The key is to stop treating it like a typical houseplant and start thinking like a Mediterranean gardener.
Your thyme plant isn’t asking for much just the right kind of attention. Stop drowning it with love (and water) and give it the tough, sunny love it craves. Before you know it, you’ll be snipping fresh, fragrant sprigs for all your culinary adventures.
Now I want to hear from you! Have you ever rescued a dying thyme? What tricks worked for you? Share your stories and questions in the comments below!
Frequently Asked Questions (FAQs)
Why are the lower stems of my thyme plant woody and brown?
This is completely normal! Thyme is technically a subshrub, and as it matures, the older stems naturally become woody. This is a sign of a healthy, aging plant. As long as you have new, green growth at the tips, your plant is doing just fine. You can prune back some of the woodier parts to encourage fresh growth if you like.
My thyme was fine and then suddenly flopped over. What happened?
A sudden collapse or “flopping” is almost always a sign of severe root rot. The support system of the plant (the roots) has died, and it can no longer hold itself up. Follow the emergency repotting steps immediately, but be prepared that it might be too late if the damage is extensive.
Can I grow thyme from grocery store cuttings?
Yes, you absolutely can, and it’s a great way to get new plants! Take a healthy, 4-inch cutting, strip the leaves from the bottom half, and place it in a glass of water. Once it develops roots (which can take a few weeks), you can plant it in a pot with the fast-draining soil mix we talked about.
My thyme plant has tiny white spots on the leaves. What are they?
This could be one of two things. If it looks like a fine, white powder, it’s likely powdery mildew, a fungal issue caused by high humidity and poor air circulation. Trim off the affected leaves and improve airflow around the plant. If the spots are tiny insects, they might be spider mites.
How do I know if my thyme is officially dead and beyond saving?
The “snap test” is my go-to. Try bending one of the main stems. If it’s pliable and bends, there’s still life. If it snaps cleanly and is dry and brittle all the way through, that part of the plant is gone.