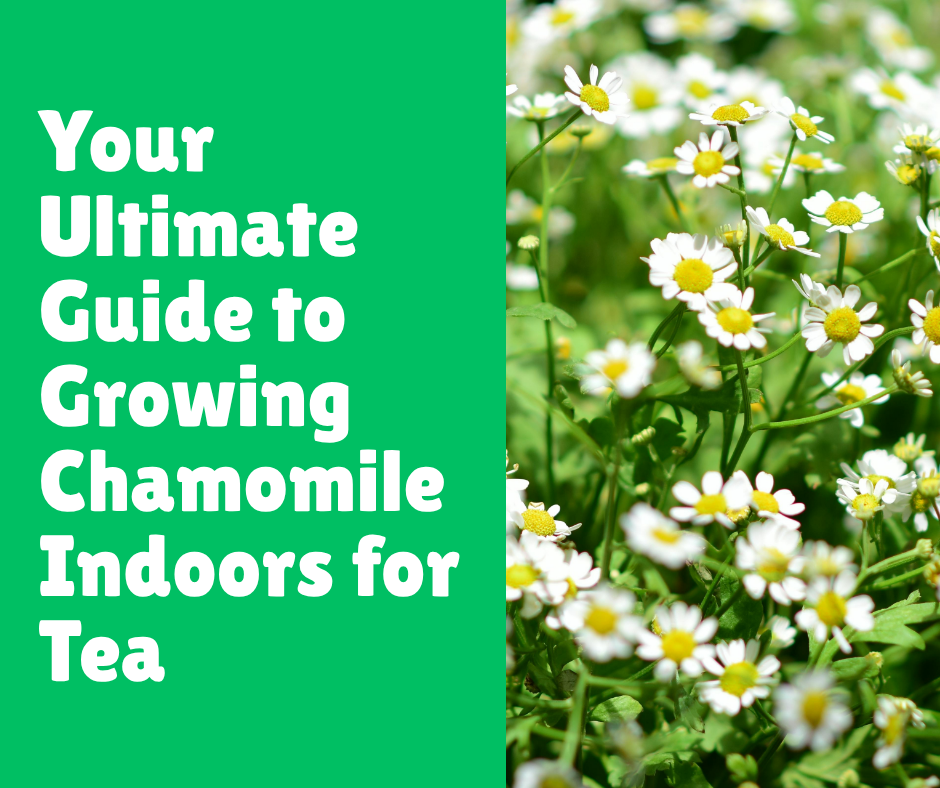
Your Ultimate Guide to Growing Chamomile Indoors for Tea
Post Disclaimer
Content on this site is for educational use only and not a substitute for medical advice. Herbal remedies are based on traditional knowledge and not medical recommendations. Please consult a healthcare professional before trying any herb. We do not assume responsibility for any outcomes or adverse effects resulting from the use of information provided here.
There’s something uniquely calming about a warm cup of chamomile tea, isn’t there? It’s like a hug in a mug. For years, I relied on store-bought tea bags, never really thinking about where those tiny, fragrant flowers came from.
Then one day, staring at my slightly sad-looking kitchen windowsill, I had a thought: could I grow my own? It sounded ambitious, maybe even a little absurd for someone whose past gardening attempts had mixed results. Spoiler alert: you totally can, and it’s way easier than you think.
Growing your own chamomile indoors isn’t just about having an endless supply of fresh tea (though that’s a huge perk). It’s about bringing a little piece of a fragrant, sunny meadow right into your home. It’s about the satisfaction of nurturing something from a tiny seed into a plant that can soothe you after a long day.
I’m here to walk you through every single step, from picking the right pot to harvesting those precious little blossoms. We’ll cover the good, the bad, and the surprisingly simple, so you can start your own indoor chamomile journey.
Getting Started: Your Chamomile Crash Course
Before we get our hands dirty (literally), let’s talk about the basics. You can’t just throw some seeds in a pot and hope for the best. Well, you could, but you might end up with a pot of dirt and disappointment. A little prep work goes a long way.
Choosing Your Chamomile: German vs. Roman
First things first, you need to decide which type of chamomile you want to grow. The two main players are German Chamomile and Roman Chamomile. While they sound similar, they are quite different plants with distinct personalities.
- German Chamomile (Matricariarecutita): This is the one you probably want for tea. It’s an annual plant, meaning it completes its life cycle in one year. It grows taller and more upright, producing a ton of small, daisy-like flowers. The flavor is sweet and apple-like, which is why it’s the go-to for herbal infusions. This is the variety I grow and recommend for a dedicated indoor tea garden.
- Roman Chamomile (Chamaemelumnobile): This one is a perennial, meaning it comes back year after year. It’s a low-growing plant that spreads like a mat, making it a great ground cover outdoors. While you can make tea from it, the flavor is more bitter and less sweet. IMO, it’s better suited for aromatherapy or creating a fragrant lawn substitute than for your nightly cuppa.
For the rest of this guide, we’ll be focusing exclusively on German Chamomile, our tea-making champion.
Gathering Your Supplies: The Essential Toolkit
You don’t need a professional greenhouse setup to succeed. In fact, your initial shopping list is pretty straightforward.
Here’s what you’ll need:
- A Good Pot: Choose a container that is at least 8 inches wide and 8 inches deep. Chamomile has a surprisingly robust root system, and giving it space to spread out will result in a healthier, happier plant. Make sure your pot has drainage holes. This is non-negotiable. Chamomile hates having “wet feet,” and soggy soil is a fast track to root rot.
- The Right Soil: Don’t just scoop up dirt from your backyard. Indoor plants need a specific type of potting mix. Look for a well-draining, all-purpose potting mix. You can often find blends specifically for herbs or container gardening. If your mix feels a bit heavy, you can add a handful of perlite or sand to improve drainage.
- German Chamomile Seeds: You can find these online, at local nurseries, or even in some well-stocked grocery stores. A single packet will contain more seeds than you’ll ever need.
- A Sunny Spot: Chamomile is a sun worshipper. It needs at least 4-6 hours of direct sunlight per day to thrive. A south-facing window is the absolute jackpot. If you don’t have one, don’t despair! We’ll cover grow lights later.
- A Watering Can (or a Cup): Nothing fancy needed here, just a way to gently water your plant.
From Seed to Sprout: The Planting Process
This is where the magic begins. Planting the seeds is a delicate process because they are ridiculously tiny. Seriously, they look like dust. Don’t sneeze near the seed packet. You’ve been warned.
Step-by-Step Planting Instructions
- Prepare Your Pot: Fill your chosen pot with your potting mix, leaving about an inch of space at the top. Lightly moisten the soil with water. You want it damp, not soaking wet. Think of a wrung-out sponge.
- Sow the Seeds: Now for the tricky part. Take a pinch of chamomile seeds and sprinkle them evenly over the surface of the soil. Since they’re so small, it’s easy to sow too many. Try to give them a little space, but don’t stress if they clump together. You can thin them out later.
- Don’t Bury Them!: This is a critical step. Chamomile seeds need light to germinate. Do not cover them with soil. Instead, gently press them into the surface of the soil with your fingertips. This ensures they have good contact with the damp soil while still getting the light they need to wake up.
- Create a Mini Greenhouse: To keep the humidity high and help the seeds germinate, you can cover the pot with a piece of clear plastic wrap. Just poke a few holes in it for air circulation. Place the pot in a warm, sunny spot.
- Be Patient: Germination can take anywhere from 7 to 14 days. During this time, keep the soil consistently moist but not waterlogged. I find that using a spray bottle to mist the surface is the best way to water without dislodging the tiny seeds.
Thinning Out the Seedlings
After a couple of weeks, you’ll see a carpet of tiny green sprouts. It’s exciting! But also, a little crowded. To give your plants the best chance at growing big and strong, you’ll need to thin them out. This can feel a bit brutal, but it’s for the greater good.
Once the seedlings are about an inch or two tall and have a few true leaves, it’s time to choose the strongest ones. Identify the healthiest-looking sprouts and use a small pair of scissors to snip the weaker ones at the soil line.
Aim to have your final plants spaced about 2-3 inches apart. This gives their roots and leaves enough room to grow without competing for resources.
Caring for Your Indoor Chamomile Plant
You’ve successfully navigated the delicate seedling stage. Congratulations! Now begins the ongoing journey of keeping your little green friend happy. Luckily, chamomile is a pretty low-maintenance companion once it gets established.
Let There Be Light (And Lots of It)
As I mentioned, chamomile adores sunlight. That south-facing window is its best friend. If you notice your plant getting “leggy”meaning it’s growing long, spindly stems with sparse leaves it’s a sure sign it’s not getting enough light. It’s literally stretching to find more sun.
What if you don’t have a sunny window? Welcome to the world of grow lights! A simple, full-spectrum LED grow light can be a game-changer. You don’t need a professional, expensive setup. A single clip-on lamp positioned a few inches above the plant will do the trick. Just set it on a timer for about 10-12 hours a day, and your chamomile will think it’s living its best life in a sunny field.
The Art of Watering
Overwatering is the number one killer of indoor herbs. Chamomile prefers its soil to be on the drier side. The best rule of thumb is to stick your finger about an inch into the soil. If it feels dry, it’s time to water. If it feels moist, wait another day or two.
When you do water, do it thoroughly. Pour water into the pot until it starts to run out of the drainage holes at the bottom.
This ensures the entire root ball gets a good drink. Then, let the pot drain completely and empty any excess water from the saucer. Never let your chamomile sit in a puddle of water.
To Feed or Not to Feed?
Chamomile is not a heavy feeder. In fact, too much fertilizer can cause the plant to produce a lot of leaves but very few flowers, and we’re here for the flowers, right?
I recommend using a balanced, all-purpose liquid fertilizer diluted to half-strength. Feed your plant about once a month during its active growing season (spring and summer).
Don’t fertilize it in the fall and winter when its growth naturally slows down. Honestly, even if you forget to fertilize it, your chamomile will probably be just fine. It’s a very forgiving plant.
Harvest Time: Reaping Your Floral Rewards
This is the moment you’ve been waiting for! About 60-90 days after planting, your chamomile plant will start producing its iconic, cheerful little flowers. The scent alone is worth all the effort.
When and How to Harvest
The best time to harvest chamomile flowers is in the morning, after the dew has dried but before the sun gets too intense. This is when the essential oils in the flowers are at their peak.
Look for flowers that are fully open, where the white petals are laying flat or have even started to bend backward slightly from the yellow center cone. This indicates they are at their prime. You can harvest them in a couple of ways:
- Pinching: The easiest method is to simply pinch off the flower heads with your fingers.
- Scissors: You can also use a small pair of scissors to snip the flower heads off.
Harvest regularly! The more you pick, the more the plant will produce. Regular harvesting encourages the plant to keep blooming, giving you a continuous supply of flowers throughout the season.
Drying Your Chamomile Flowers
To use your chamomile for tea, you need to dry the flowers first. This concentrates their flavor and allows you to store them for later use.
- Lay them out: Spread the fresh flower heads in a single layer on a clean, dry surface. A mesh screen, a baking sheet lined with parchment paper, or even a clean dish towel will work.
- Find a good spot: Place them in a warm, dry, well-ventilated area away from direct sunlight. Direct sun can degrade the essential oils and fade the flowers.
- Wait: Let them air-dry for about 1-2 weeks. You’ll know they’re ready when they are completely dry and crumble easily between your fingers.
- Store them properly: Once fully dried, store your chamomile flowers in an airtight container, like a glass jar. Keep the jar in a cool, dark place, like a pantry or cupboard. They should retain their potency for up to a year.
Making the Perfect Cup of Tea
You did it! You grew, harvested, and dried your very own chamomile. Now it’s time to enjoy the fruits of your labor.
To make a cup of tea, simply place about one tablespoon of dried chamomile flowers into a tea infuser or directly into your mug. Pour hot (not boiling) water over the flowers and let them steep for about 5 minutes. Strain the flowers out, and enjoy.
You can add a little honey or a slice of lemon if you like, but I recommend trying it plain first to really appreciate the delicate, sweet flavor you cultivated yourself. It’s a truly special experience.
Common Mistakes to Avoid (Trust Me on These)
I’ve made my fair share of mistakes on my indoor gardening journey. Let my failures be your guide to success. Here are a few common pitfalls to watch out for.
- The Overzealous Waterer: I can’t stress this enough: do not overwater your chamomile. It’s an instinct for new plant parents to want to “care” for their plant by watering it constantly. Resist this urge. Soggy soil leads to root rot, which is almost impossible to recover from. Remember the finger test!
- Ignoring the Light Situation: Putting your chamomile in a dark corner and hoping for the best is a recipe for a sad, leggy plant with no flowers. Light is not optional; it’s essential. If you don’t have a sunny spot, you must invest in a grow light. FYI, they are not as expensive as you might think!
- Skipping the Thinning Process: It feels mean, I get it. But leaving all those seedlings to compete with each other means you’ll end up with a bunch of weak, spindly plants instead of a few strong, productive ones. Be brave and snip the weaker seedlings. Your remaining plants will thank you for it.
- Using a Pot Without Drainage: This is a rookie mistake, but it’s a devastating one. If water has no way to escape, the soil becomes a swamp, and the roots will drown. Always, always, always use a pot with drainage holes. If you fall in love with a decorative pot that doesn’t have holes, you can use it as a “cachepot” and place a smaller plastic pot with drainage inside it.
Conclusion: Your Journey to a Soothing Sip
Growing chamomile indoors is more than just a gardening project; it’s an act of self-care. It’s a simple, rewarding way to connect with nature, even if you live in a tiny apartment. From the moment you sprinkle those dust-like seeds onto the soil to the first sip of your homegrown tea, you’re creating something special. You’re cultivating calm.
We’ve covered everything from choosing the right variety and gathering your supplies to planting, caring, and harvesting your fragrant blossoms.
We’ve also navigated the common mistakes that can trip up even the most enthusiastic new grower. The key takeaways are simple: provide plenty of light, don’t overwater, and harvest regularly.
Now, the only thing left to do is start. Go grab a pot, some soil, and a packet of seeds. I promise you, the feeling of brewing a cup of tea made from flowers you grew with your own two hands is incredibly satisfying.
Have you ever tried growing herbs indoors? Are you ready to start your own chamomile garden? Share your thoughts, questions, or your own tips in the comments below! I’d love to hear from you.
Frequently Asked Questions (FAQs)
My chamomile plant is falling over. What did I do wrong?
This is pretty common! German chamomile can get a bit tall and floppy, especially indoors. It could be a sign of not quite enough light, causing the stems to be weaker. You can provide a small stake or a mini trellis for support.
Can I just use a chamomile tea bag and plant that?
That’s a creative idea! However, it’s unlikely to work. The flowers in most tea bags have been processed and heated, which destroys the viability of any seeds that might be present. It’s much more reliable to start with a fresh packet of seeds designed for planting.
How long will my indoor chamomile plant live?
Since we’re growing German Chamomile, it’s an annual. This means it will complete its entire life cycle from seed to flower to seed in one season. You can expect your plant to live for a few months of active growth and flowering.
Are there any pests I need to worry about indoors?
Indoor plants are generally safer from pests, but they’re not immune. Aphids and spider mites are the most common culprits. If you see any tiny bugs, you can usually get rid of them by spraying the plant with a simple solution of water and a few drops of dish soap.
My plant has lots of leaves but no flowers. What’s going on?
This is a classic case of either too much nitrogen or not enough light. If you’ve been fertilizing it frequently, cut back. Too much nitrogen encourages leafy growth at the expense of blooms. More often than not, though, the issue is insufficient light.