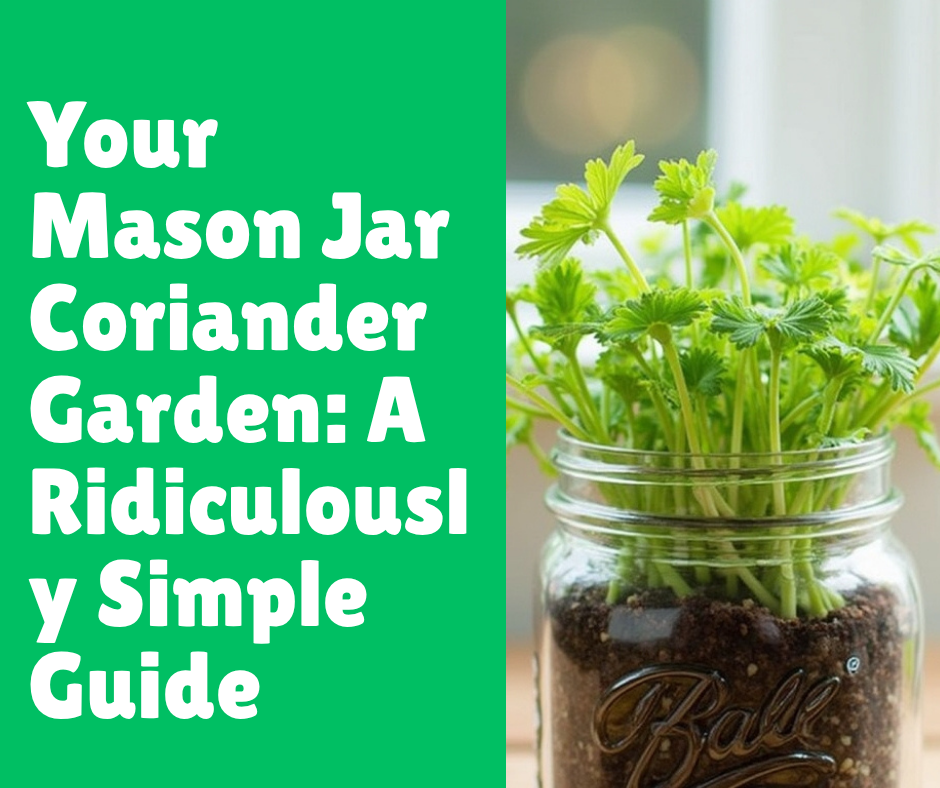
Your Mason Jar Coriander Garden: A Ridiculously Simple Guide
Post Disclaimer
Content on this site is for educational use only and not a substitute for medical advice. Herbal remedies are based on traditional knowledge and not medical recommendations. Please consult a healthcare professional before trying any herb. We do not assume responsibility for any outcomes or adverse effects resulting from the use of information provided here.
I have a confession to make. For years, I was a serial plant killer. Specifically, a coriander killer. I’d buy a beautiful, fragrant bunch from the store, use a few sprigs, and watch the rest wilt into a sad, green sludge in my refrigerator.
I tried growing it in pots outside, but it would either bolt (flower prematurely) faster than I could say “tacos,” or some mysterious pest would devour it overnight. It was a constant battle, and frankly, I was losing.
Then, I stumbled upon a method so simple, so elegant, it felt like cheating: growing coriander in mason jars. Right on my windowsill. No garden, no pests, just fresh, pungent coriander whenever I wanted it. It seemed too good to be true, but I tried it. And you know what? It worked. Gloriously.
This guide is the culmination of my trials, my (many) errors, and my ultimate success. I’m going to walk you through everything you need to know to create your own indoor coriander empire, one mason jar at a time. Forget the sad, wilted supermarket herbs. We’re about to bring the freshness right into your kitchen.
What You’ll Need: The Coriander Starter Pack
Before we get our hands dirty (or, in this case, slightly damp), let’s gather our supplies. The beauty of this project is its simplicity. You don’t need a fancy hydroponics setup or a degree in botany. Most of this stuff you might already have lying around the house.
The Absolute Essentials
Think of this as your non-negotiable list. Without these, you’re just a person staring at an empty jar, dreaming of guacamole.
- Wide-Mouth Mason Jars: I cannot stress wide-mouth enough. It just makes everything easier, from planting to harvesting. Any size from a pint (16 oz) to a quart (32 oz) will work beautifully. I personally prefer quart jars because they give the roots more room to party.
- Coriander Seeds: Here’s a pro-tip: use whole coriander seeds, not the split kind you find in the spice aisle. The whole ones are actually two seeds encased in a husk. Cracking them open before planting doubles your chances of germination. You can find seed packets at any garden center or online.
- Growing Medium: You have options here!
- Potting Mix: A good quality, all-purpose potting mix is a reliable choice. Make sure it’s light and drains well.
- Coco Coir: This is my personal favorite. It’s a sustainable byproduct of coconut processing, retains moisture beautifully, and is less prone to fungus gnats. It often comes in a compressed brick that you rehydrate with water. It’s weirdly satisfying to watch it expand.
- Perlite or Vermiculite: While not a growing medium on its own, adding a handful of this to your potting mix or coco coir will dramatically improve aeration and drainage. It’s the secret to happy roots.
- Small Rocks or Pebbles: This is for drainage. Since mason jars don’t have holes in the bottom (obviously), we need to create a false drainage layer to prevent the roots from sitting in water and rotting. You can use gravel from a garden store, decorative pebbles, or even marbles.
The “Nice-to-Have” Upgrades
These aren’t strictly necessary, but they can make your life a little easier and your coriander a little happier.
- A Spray Bottle: Perfect for gently watering your seeds without dislodging them.
- Liquid Fertilizer: Your coriander will eventually use up the nutrients in its small jar home. A balanced liquid fertilizer, diluted to half-strength, will give it the boost it needs.
- A Grow Light: If your home is tragically sun-deprived like a vampire’s lair, a simple LED grow light can be a game-changer, especially in winter.
Let’s Get Planting: A Step-by-Step Guide to Jar-dening
Alright, you’ve got your gear. Now for the fun part. I’ll break it down into ridiculously simple steps. Seriously, if you can make a sandwich, you can do this.
Step 1: Prep Your Seeds (The Smashing Part)
Remember how I mentioned using whole coriander seeds? Now we’re going to give them a little encouragement.
- Take a small handful of whole coriander seeds and place them on a cutting board.
- Gently press down on them with the flat bottom of a glass or a jar. You’re not trying to pulverize them into dust; you just want to hear a satisfying crack.
- The goal is to split the husks open. Each husk contains two seeds, so you’ve just doubled your potential plant count. Congrats, you’re already an overachiever.
- After cracking, soak the seeds in a small bowl of water for 12-24 hours. This process, called scarification, softens the seed coat and signals to the seed that it’s time to wake up and grow.
Step 2: Assemble Your Jars of Joy
This is where we build the perfect little home for your future coriander plants. Think of it as plant real estate development.
- Clean Your Jars: Wash your mason jars thoroughly with soap and water. You want to start with a sterile environment to prevent any funky bacteria or mold from crashing the party.
- Create the Drainage Layer: Place a 1- to 2-inch layer of your chosen pebbles or small rocks at the bottom of the jar. This creates a reservoir where excess water can collect without waterlogging the soil and drowning the roots. This is the most important step for a container without drainage holes.
- Add Your Growing Medium: If you’re using coco coir, rehydrate it according to the package directions first. Fill the jar with your potting mix or coco coir, leaving about an inch of space at the top. Don’t pack it down too tightly; you want it to stay light and airy.
- Moisten the Medium: Gently water the soil until it’s evenly moist, but not soaking wet. Think of a damp sponge. The drainage layer you created should catch any excess. Let it sit for a few minutes to ensure the water has distributed evenly.
Step 3: Sowing the Seeds
It’s time to introduce the seeds to their new home.
- Take your pre-soaked, cracked seeds and sprinkle them evenly over the surface of the soil. How many? I’d say about 10-15 half-seeds per quart jar. It might seem like a lot, but not all will germinate, and coriander likes to grow in a bit of a cluster.
- Lightly cover the seeds with a very thin layer of soil, about ¼ inch deep. You just want to tuck them in, not bury them alive.
- Gently mist the top layer of soil with your spray bottle. This ensures the seeds have good contact with the moist soil.
- Label your jar! It seems silly now, but if you get hooked and start growing other herbs (and you will), you’ll thank me later. A piece of masking tape and a sharpie works perfectly.
Step 4: The Waiting Game (Patience, Young Grasshopper)
Place your jar in a spot that gets at least 4-6 hours of bright, indirect sunlight per day. A south-facing windowsill is ideal, but an east or west-facing one will also work. Direct, scorching sun can be too intense for young seedlings.
Now, we wait. Germination can take anywhere from 7 to 20 days. Keep the soil consistently moist by misting it daily. Don’t let it dry out completely. Soon enough, you’ll see tiny green shoots poking through the soil. It’s an genuinely exciting moment every single time.
Caring for Your Coriander: How to Not Kill It
You have sprouts! High-five! Now, your job shifts from planter to plant parent. Don’t worry, these green babies are pretty low-maintenance.
Watering: The Golden Rule
The biggest killer of jar-grown herbs is overwatering. Because there’s no drainage hole, you have to be more mindful.
- Check the Soil: Before watering, stick your finger about an inch into the soil. If it feels dry, it’s time to water. If it feels damp, leave it alone.
- Water Sparingly: When you do water, add just a little bit at a time. You want to moisten the soil, not create a swimming pool in your drainage layer. I find that about ¼ cup of water every few days is usually sufficient for a quart jar, but this will vary based on your home’s humidity and temperature.
- Watch the Drainage Layer: You can visually inspect the pebble layer at the bottom. If you see a lot of standing water, you’re being too generous. Hold back for a few days.
Light: Let There Be (the Right Kind of) Light
Coriander needs a decent amount of light to thrive and produce those flavorful leaves.
- Sunlight: As mentioned, 4-6 hours of bright, indirect light is the sweet spot.
- Rotation: Rotate your jar every couple of days. Plants have a tendency to lean towards the light source (a process called phototropism), and rotating them ensures they grow straight and strong instead of looking like they’re trying to escape.
- Supplemental Light: If your window situation is bleak, a grow light is a fantastic investment. You can get simple clip-on models online for cheap. Run it for about 10-12 hours a day, keeping the light a few inches above the plants.
Feeding: A Little Snack for Your Plants
The soil in your jar has a finite amount of nutrients. After about 4-6 weeks, your plants will have eaten their first meal and will be looking for more.
- Fertilize Monthly: Feed your coriander once a month with a balanced, all-purpose liquid fertilizer.
- Dilute, Dilute, Dilute: This is important! Dilute the fertilizer to half the strength recommended on the bottle. Container plants are more susceptible to fertilizer burn, and it’s always better to under-feed than over-feed.
Harvesting: The Payoff!
This is the best part. After about 4-6 weeks from sprouting, your coriander will be ready for its first haircut.
- Cut, Don’t Pull: Use a pair of clean scissors or herb snips. Never pull the leaves off with your hands, as this can damage the delicate stems or even uproot the whole plant.
- Harvest from the Outside: Start by snipping the larger, outer leaves first. This encourages the plant to keep producing new growth from the center.
- The One-Third Rule: Never harvest more than one-third of the plant at any given time. Taking too much can stress the plant and stunt its growth. Regular, small harvests are the key to a continuous supply.
Common Mistakes I’ve Made (So You Don’t Have To)
I’ve made just about every mistake in the book. Let my failures be your guide to success. FYI, some of these were real face-palm moments for me.
- The “No-Drainage” Fiasco: My very first attempt, I just put soil in a jar and hoped for the best. Within two weeks, I had a jar of green mush and a smell I wouldn’t wish on my worst enemy. Use the pebble layer. It is not optional.
- The Seed Graveyard: I once dumped half a packet of seeds into one jar, thinking “more is better.” I ended up with a thick carpet of seedlings fighting for their lives. They all grew weak and spindly, and none of them truly thrived. Stick to the recommended 10-15 split seeds per jar.
- Drowning My Sorrows (and My Plants): In my eagerness, I watered my jars every single day, whether they needed it or not. The roots rotted, and the plants yellowed and died. Learn to read your soil’s moisture level. Your finger is your best tool.
- Forgetting to Rotate: I had one jar that I left in the same spot for a month. It grew into a bizarre, lopsided shape, practically crawling up the window pane. It looked desperate. Rotate your jars for even, healthy growth.
- Letting It Bolt: Coriander has one mission in life: to produce seeds and die. This is called “bolting.” Hot temperatures and inconsistent watering can trigger it. Once it sends up that central flower stalk, the leaf flavor deteriorates. Harvest regularly to delay this, and try to keep your jars from getting too hot in direct sun.
Conclusion: Your Fresh Herb Future Awaits
Growing coriander in mason jars is more than just a gardening hack; it’s a small, satisfying act of self-sufficiency. It’s the joy of snipping fresh, fragrant leaves for your salsa, knowing you grew them yourself, just inches from your cutting board. It’s a tiny victory against food waste and a step towards a more flavorful kitchen.
We’ve covered everything from gathering your simple supplies to prepping the seeds, assembling your jar-den, and caring for your new green friends.
Now it’s your turn. Go find a jar, grab some seeds, and give it a try. I promise the reward of that first harvest is well worth the minimal effort.
I’d love to see your progress! Share your mason jar coriander adventures in the comments below. Did you run into any funny problems? Have you discovered a new tip? Let’s talk all things herbs!
Frequently Asked Questions (That You Might Be Too Embarrassed to Ask)
Can I use cilantro seeds from the grocery store spice aisle?
It’s a gamble, and IMO, not worth it. The spices you buy for cooking are often split (which is fine) but they are also typically heat-treated or irradiated to increase shelf life. This process can kill the embryo inside, meaning they won’t germinate.
My coriander plants are tall and skinny. What am I doing wrong?
Ah, the classic “leggy” seedling. This is almost always a sign that your plants are stretching to find more light. They are desperate for sun! Try moving them to a brighter location or supplement with a grow light.
How long will my mason jar coriander plant live?
Coriander is an annual plant, which means its natural lifecycle is short. With regular harvesting, you can typically keep a plant productive for a few months. Eventually, it will try to bolt (flower). Once it does, the leaf flavor changes.
What’s the difference between coriander and cilantro? I’m so confused.
Don’t worry, this confuses everyone! In North America, we generally use cilantro to refer to the fresh leaves and stems of the plant, and coriander to refer to the dried seeds. In the UK and many other parts of the world, “coriander” refers to both the leaves and the seeds.